A client brought me this wonderful antique English candle stand that lost a foot and needed a new replacement. My task was to not only carve a new one, but ensure it looked the same. This meant sourcing the right wood, using the correct methods to adhere the new to the old and color matching the new foot. Check out the process and results below.
First day in the shop.
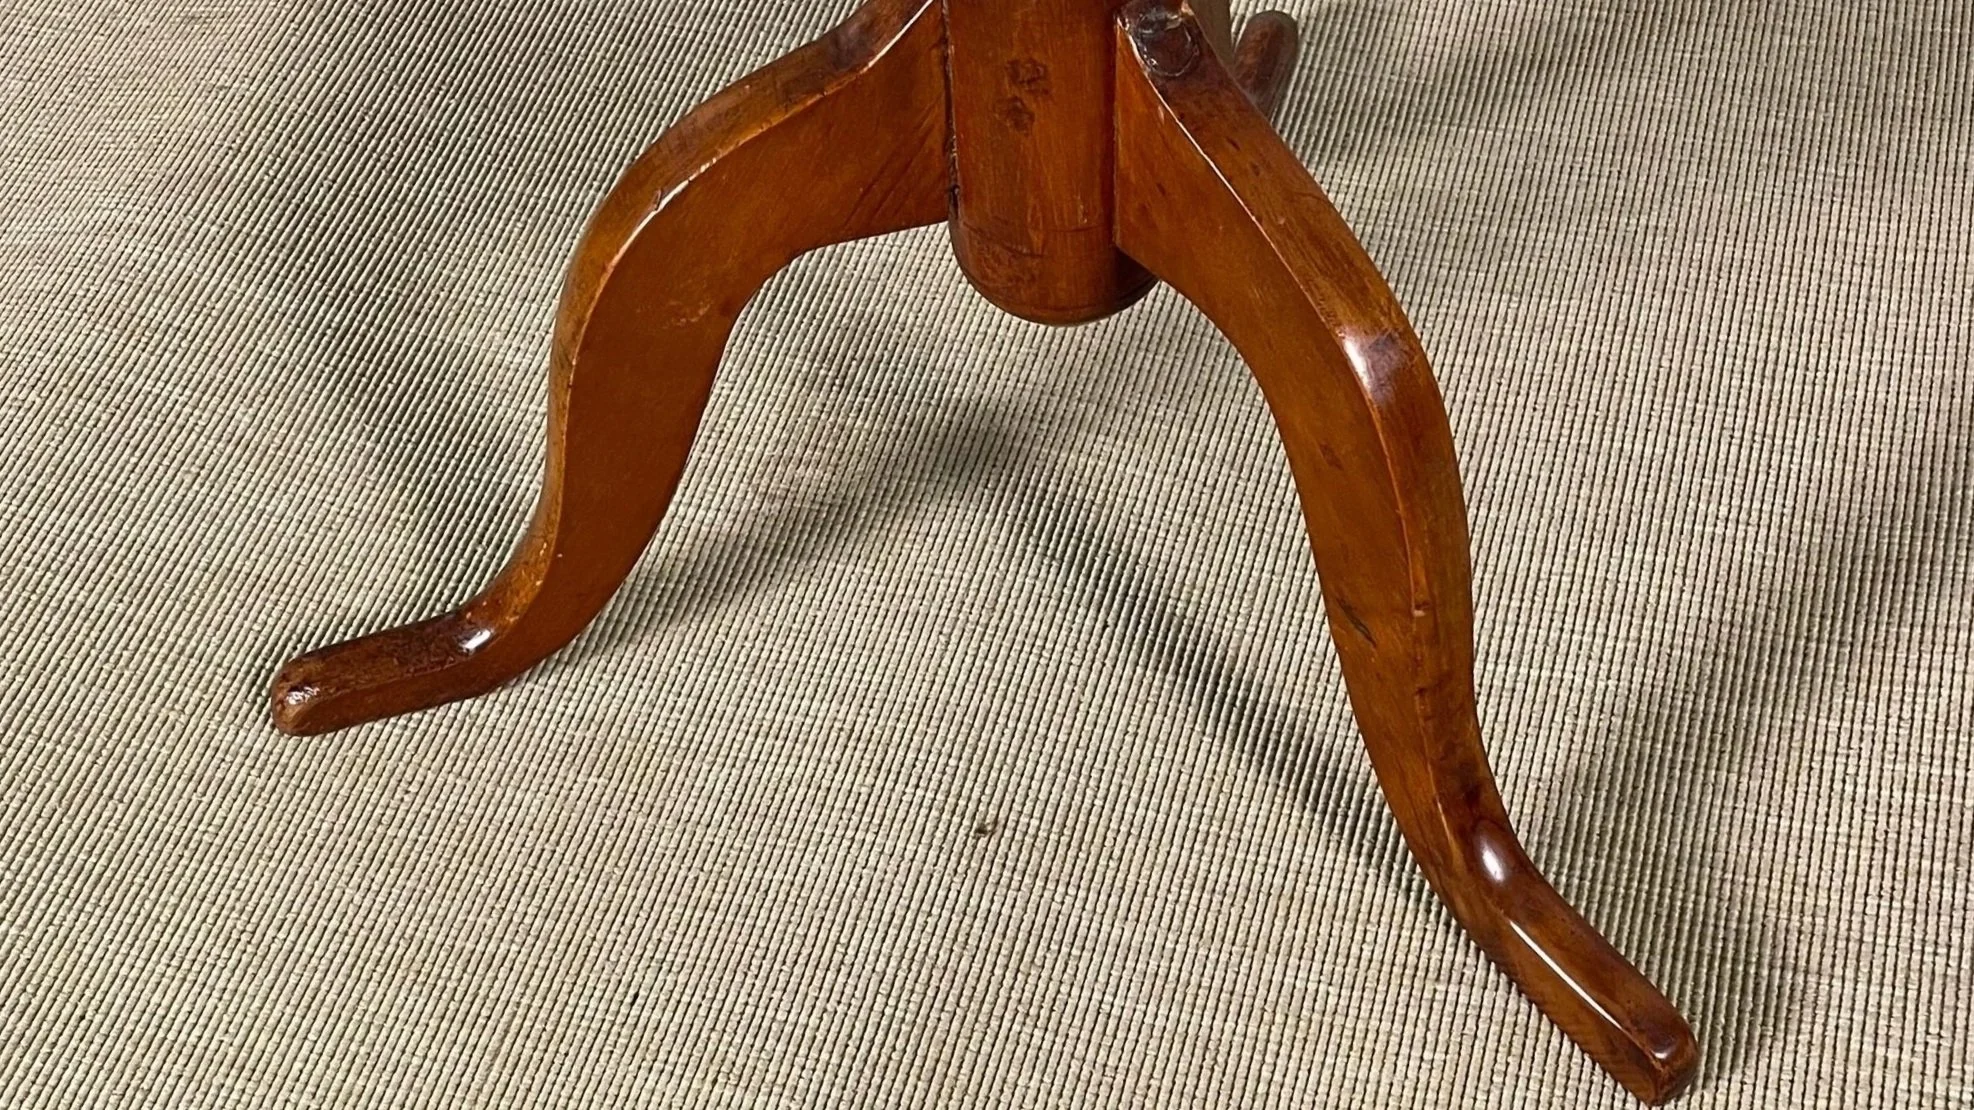
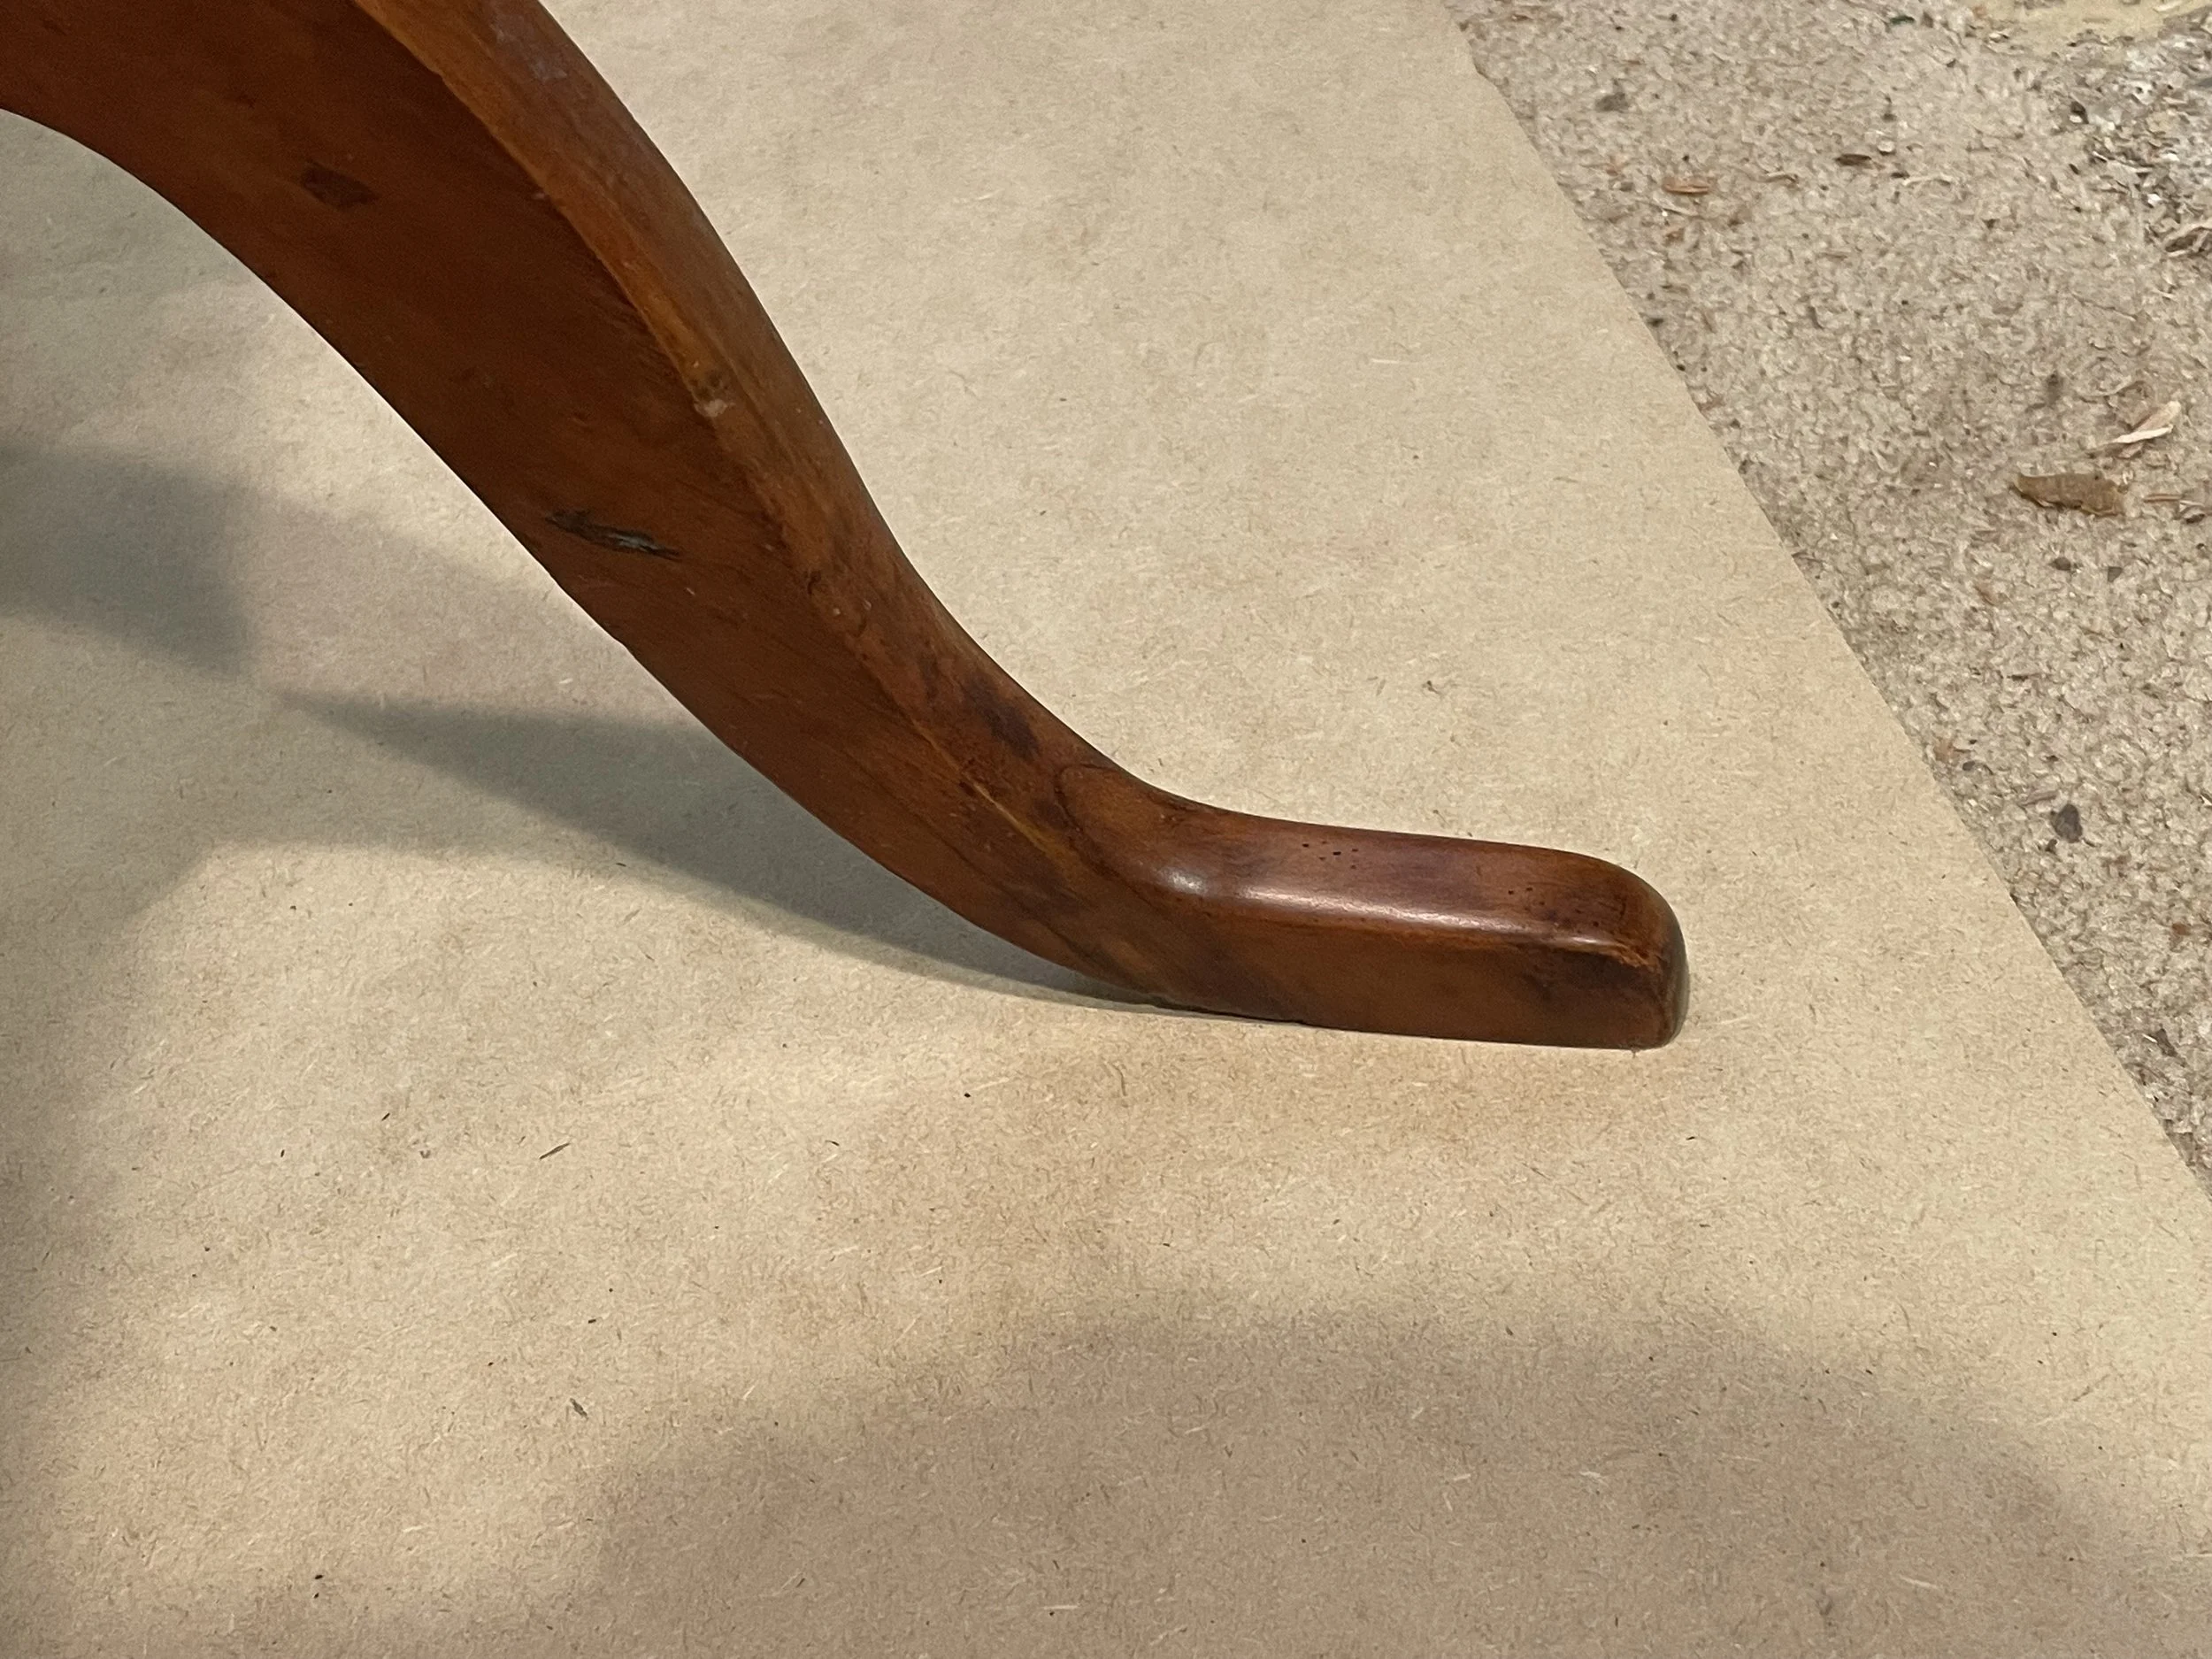
One broken foot
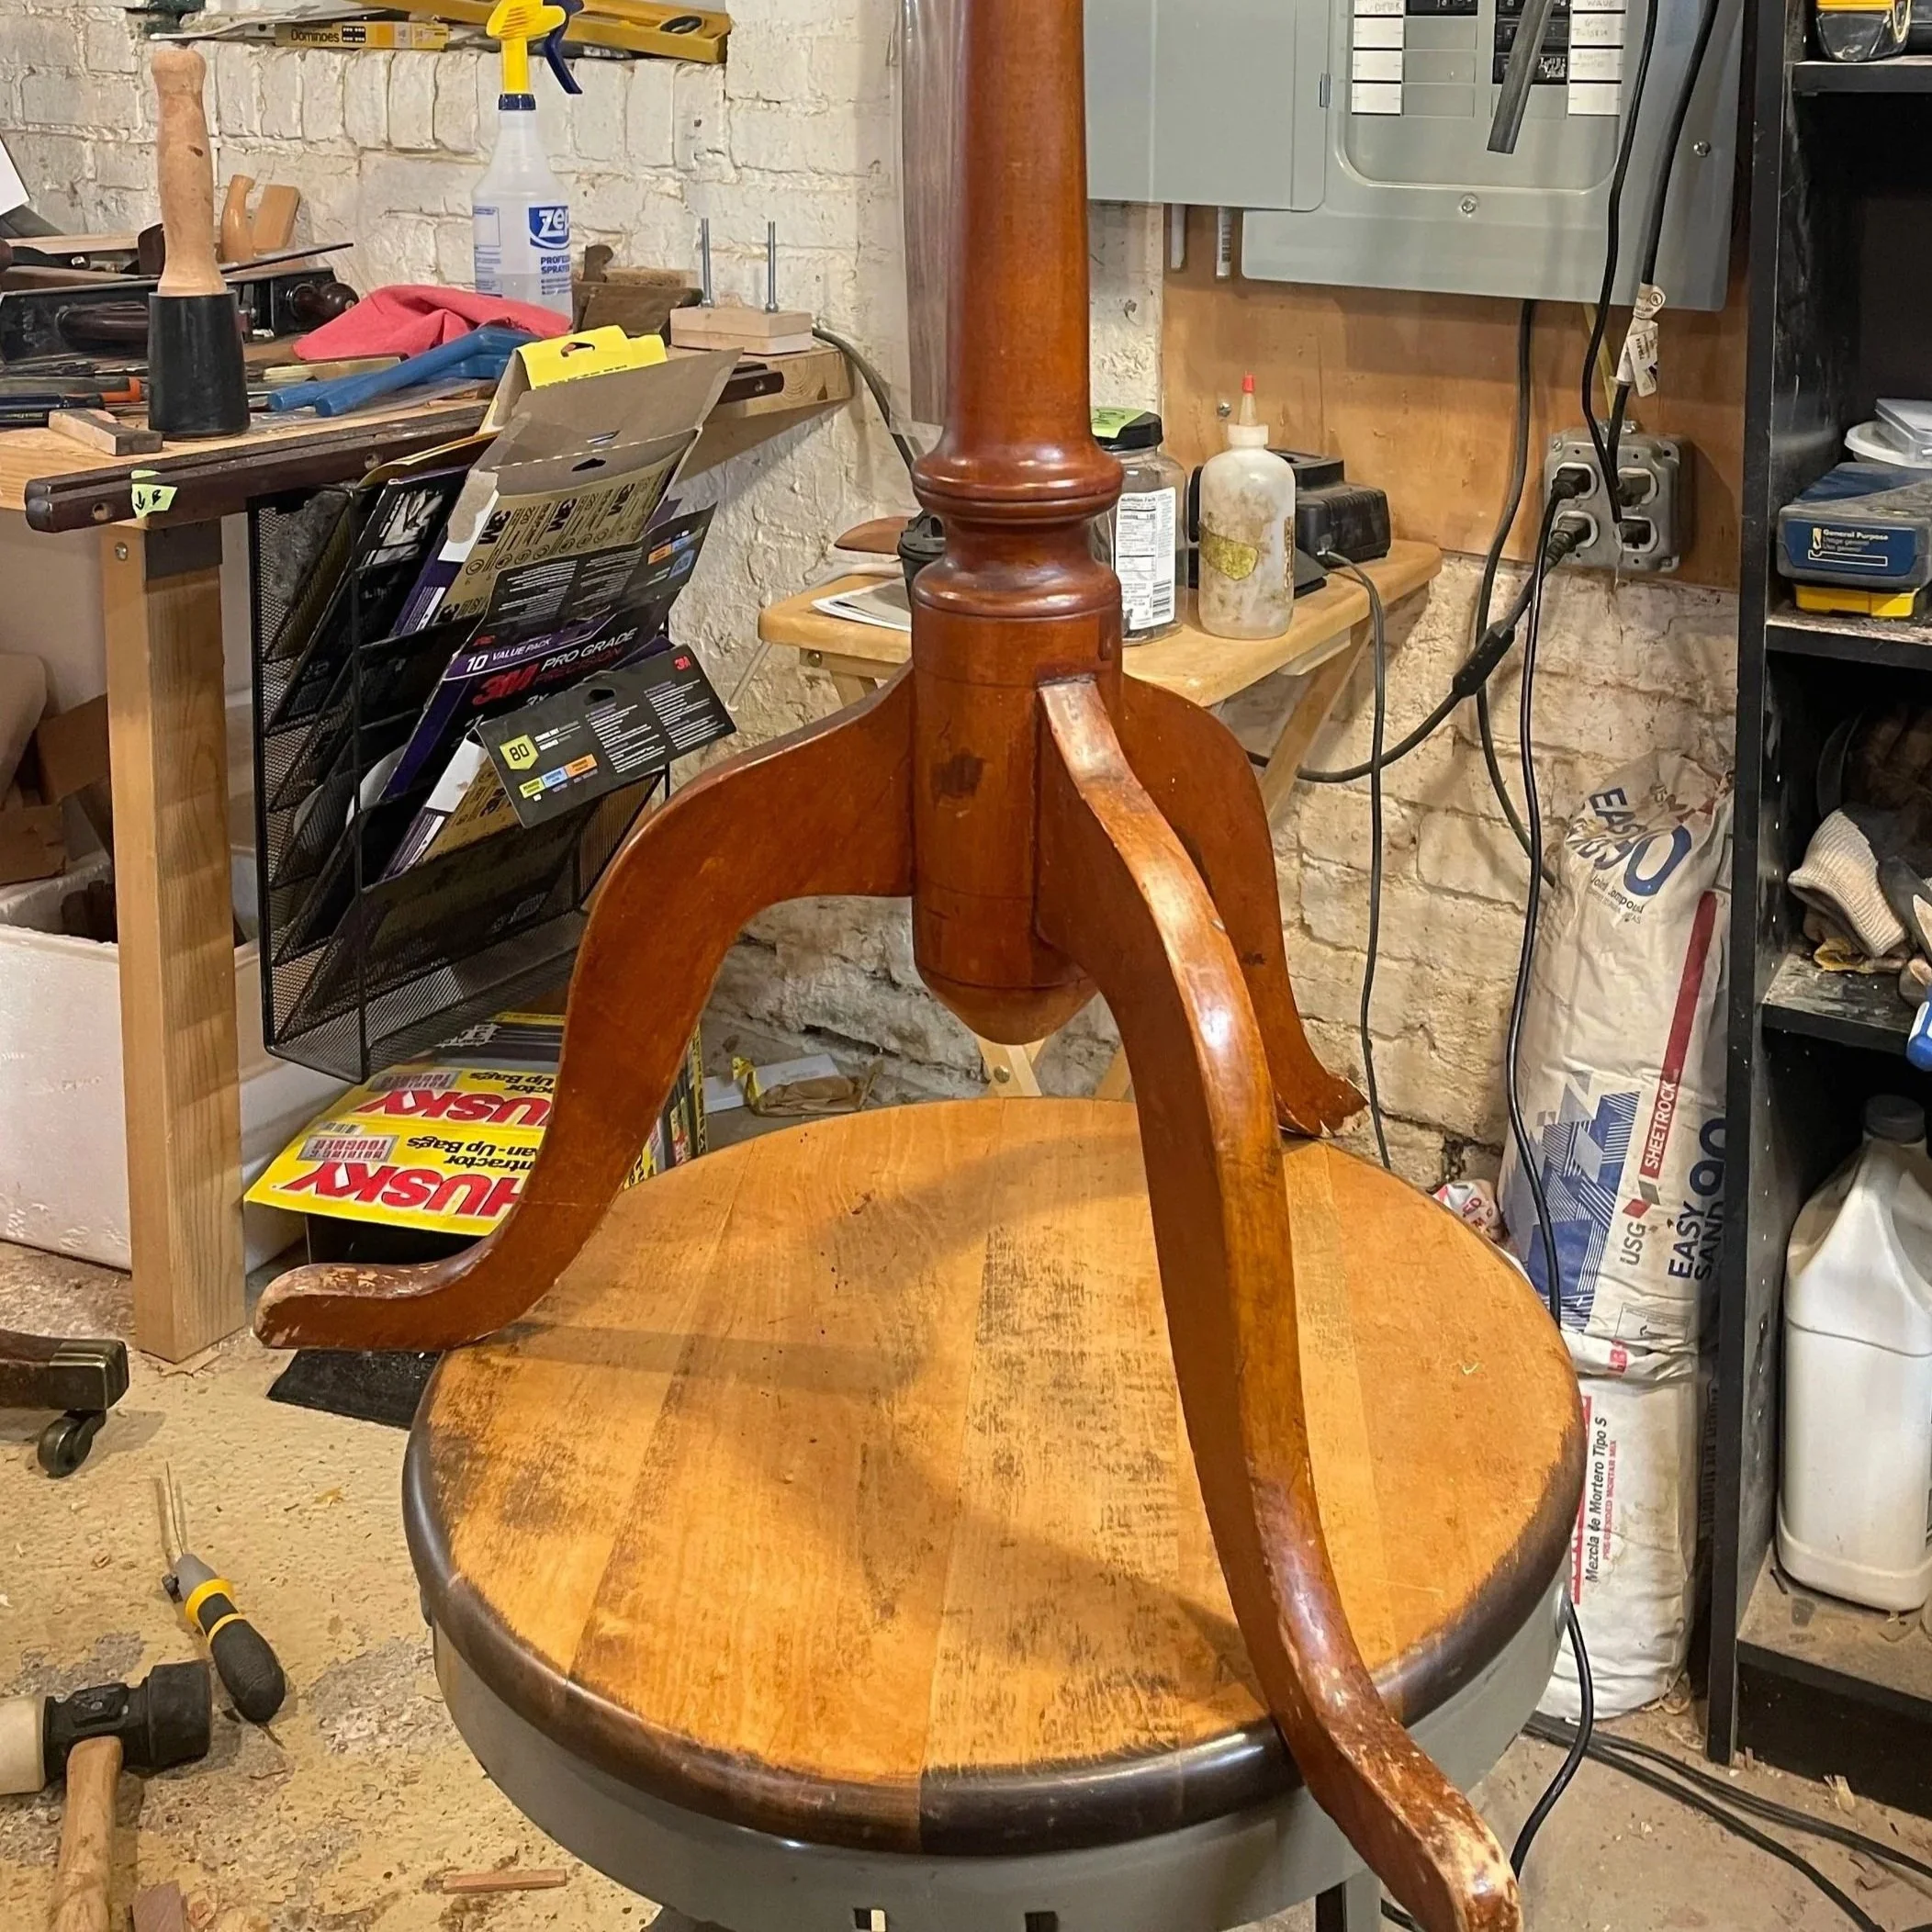
Cutting a clean, flat surface to get ready to glue a new piece of wood
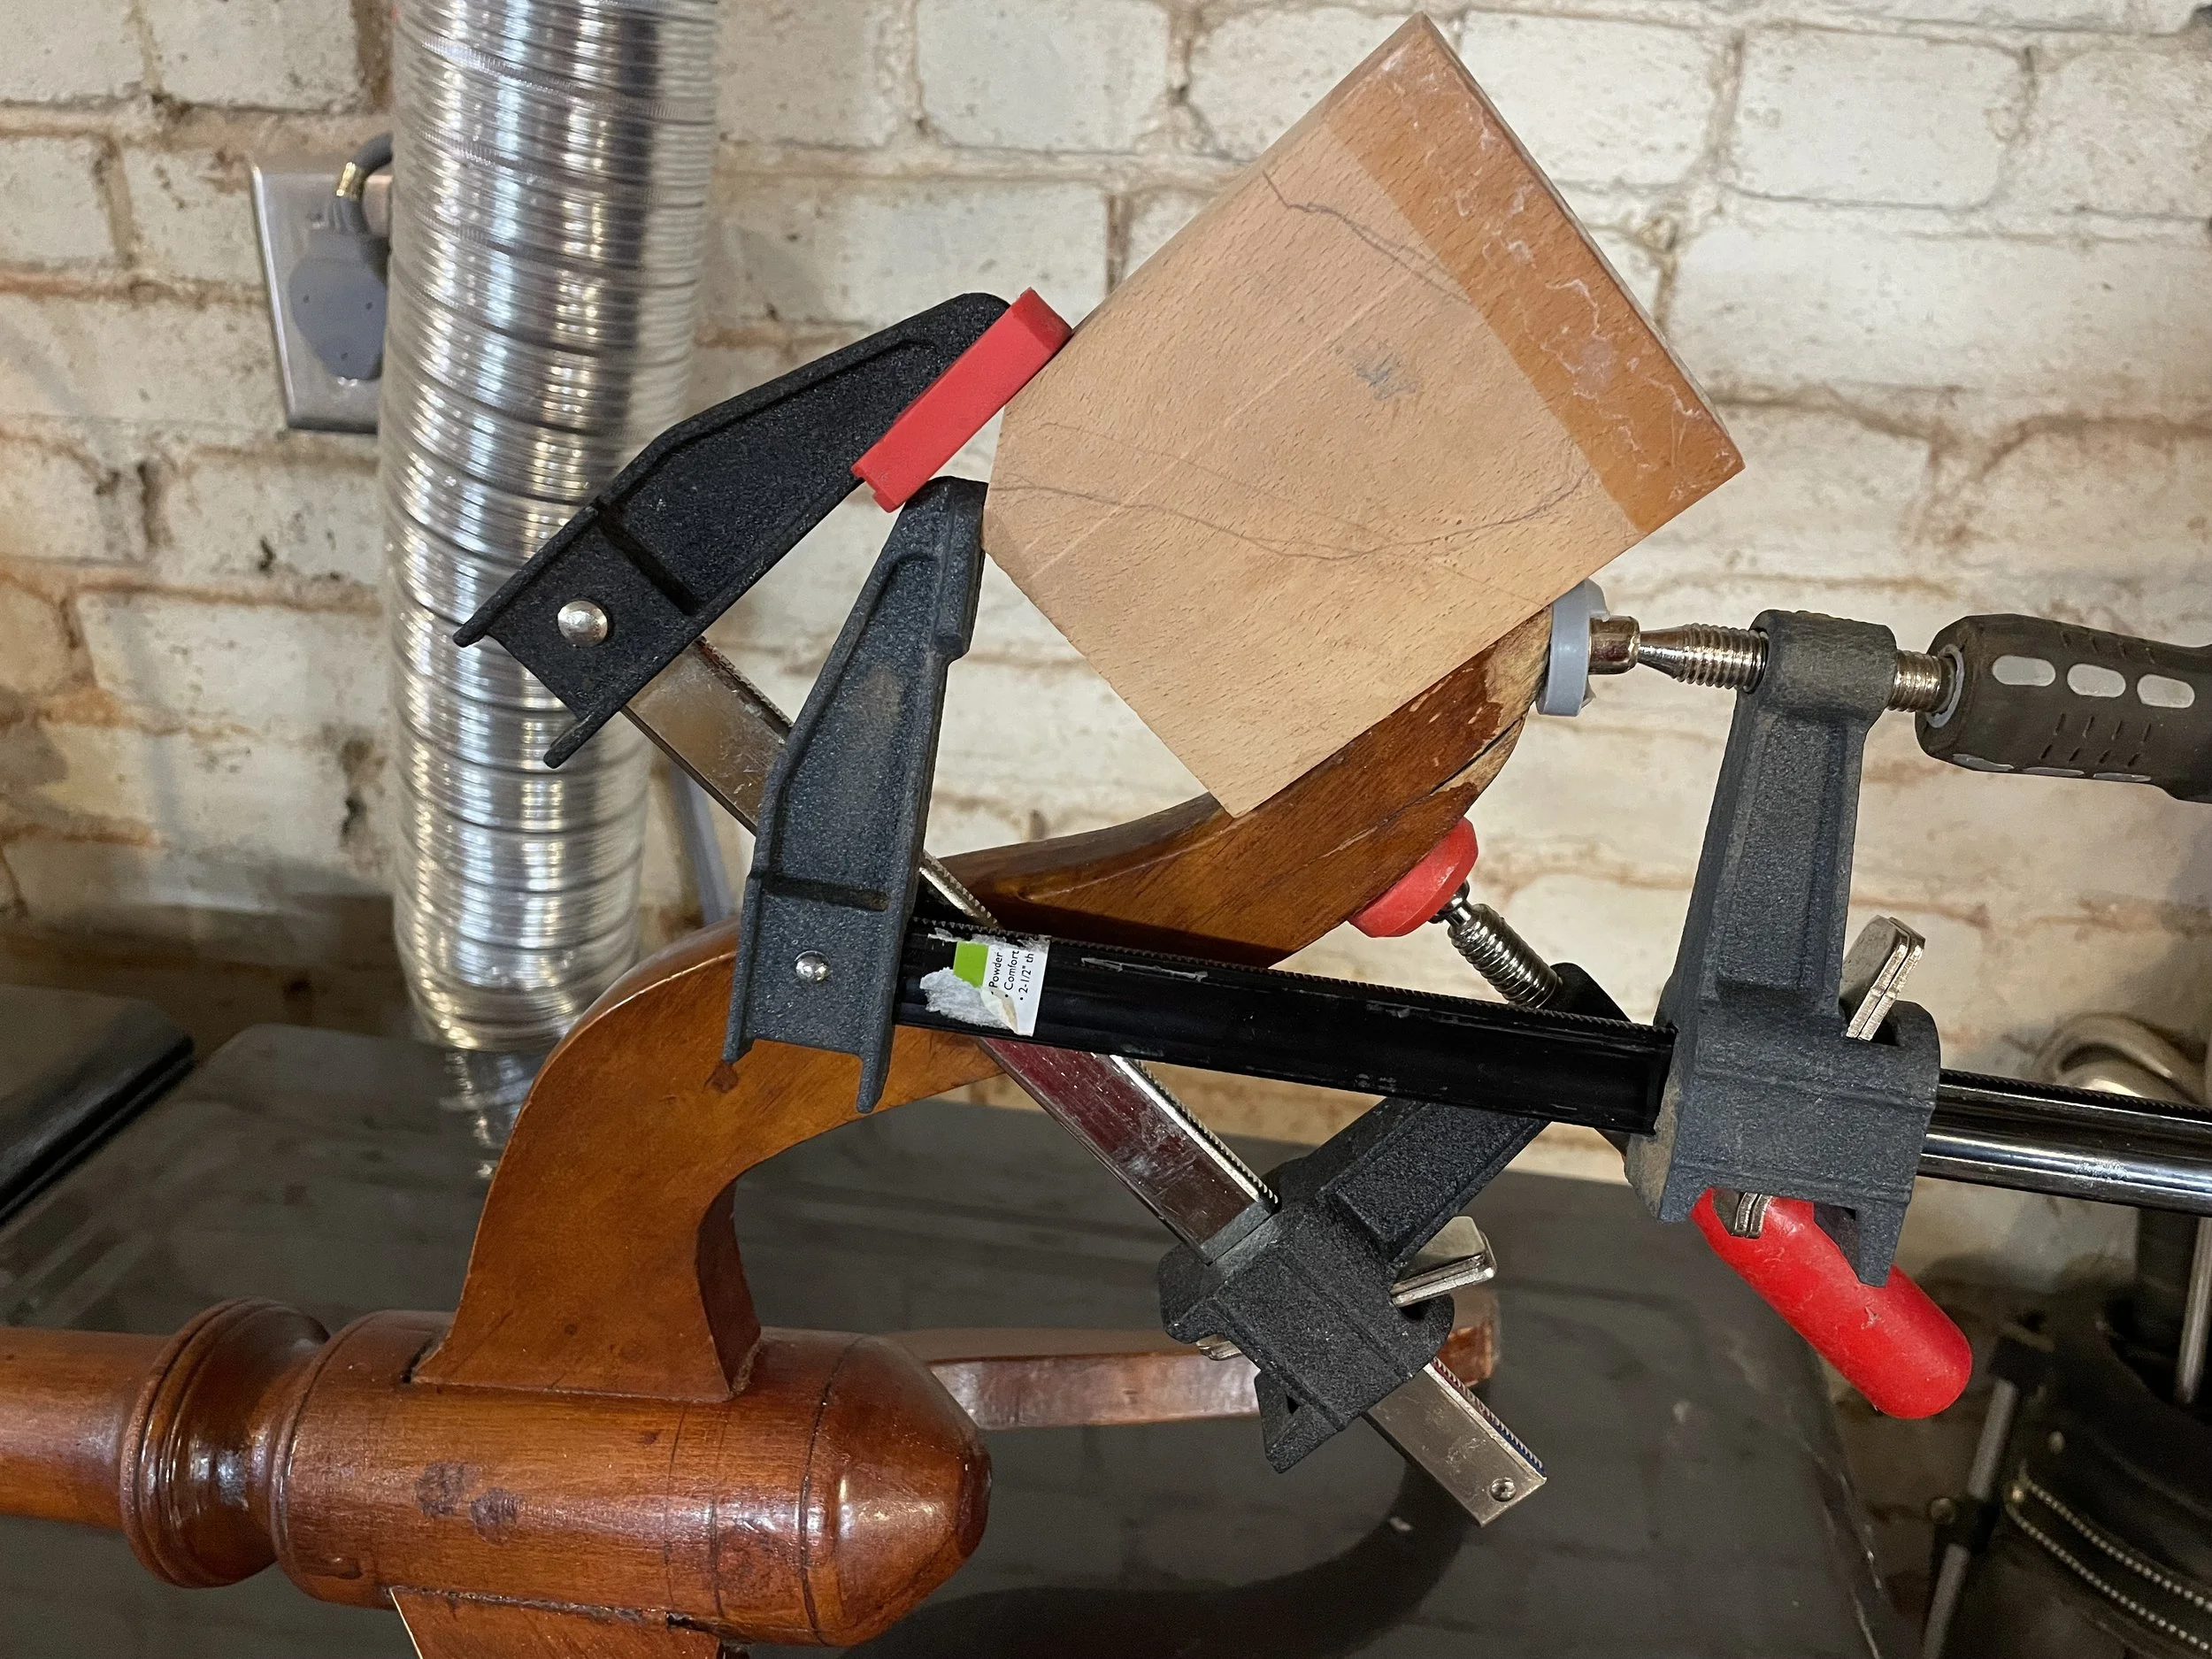
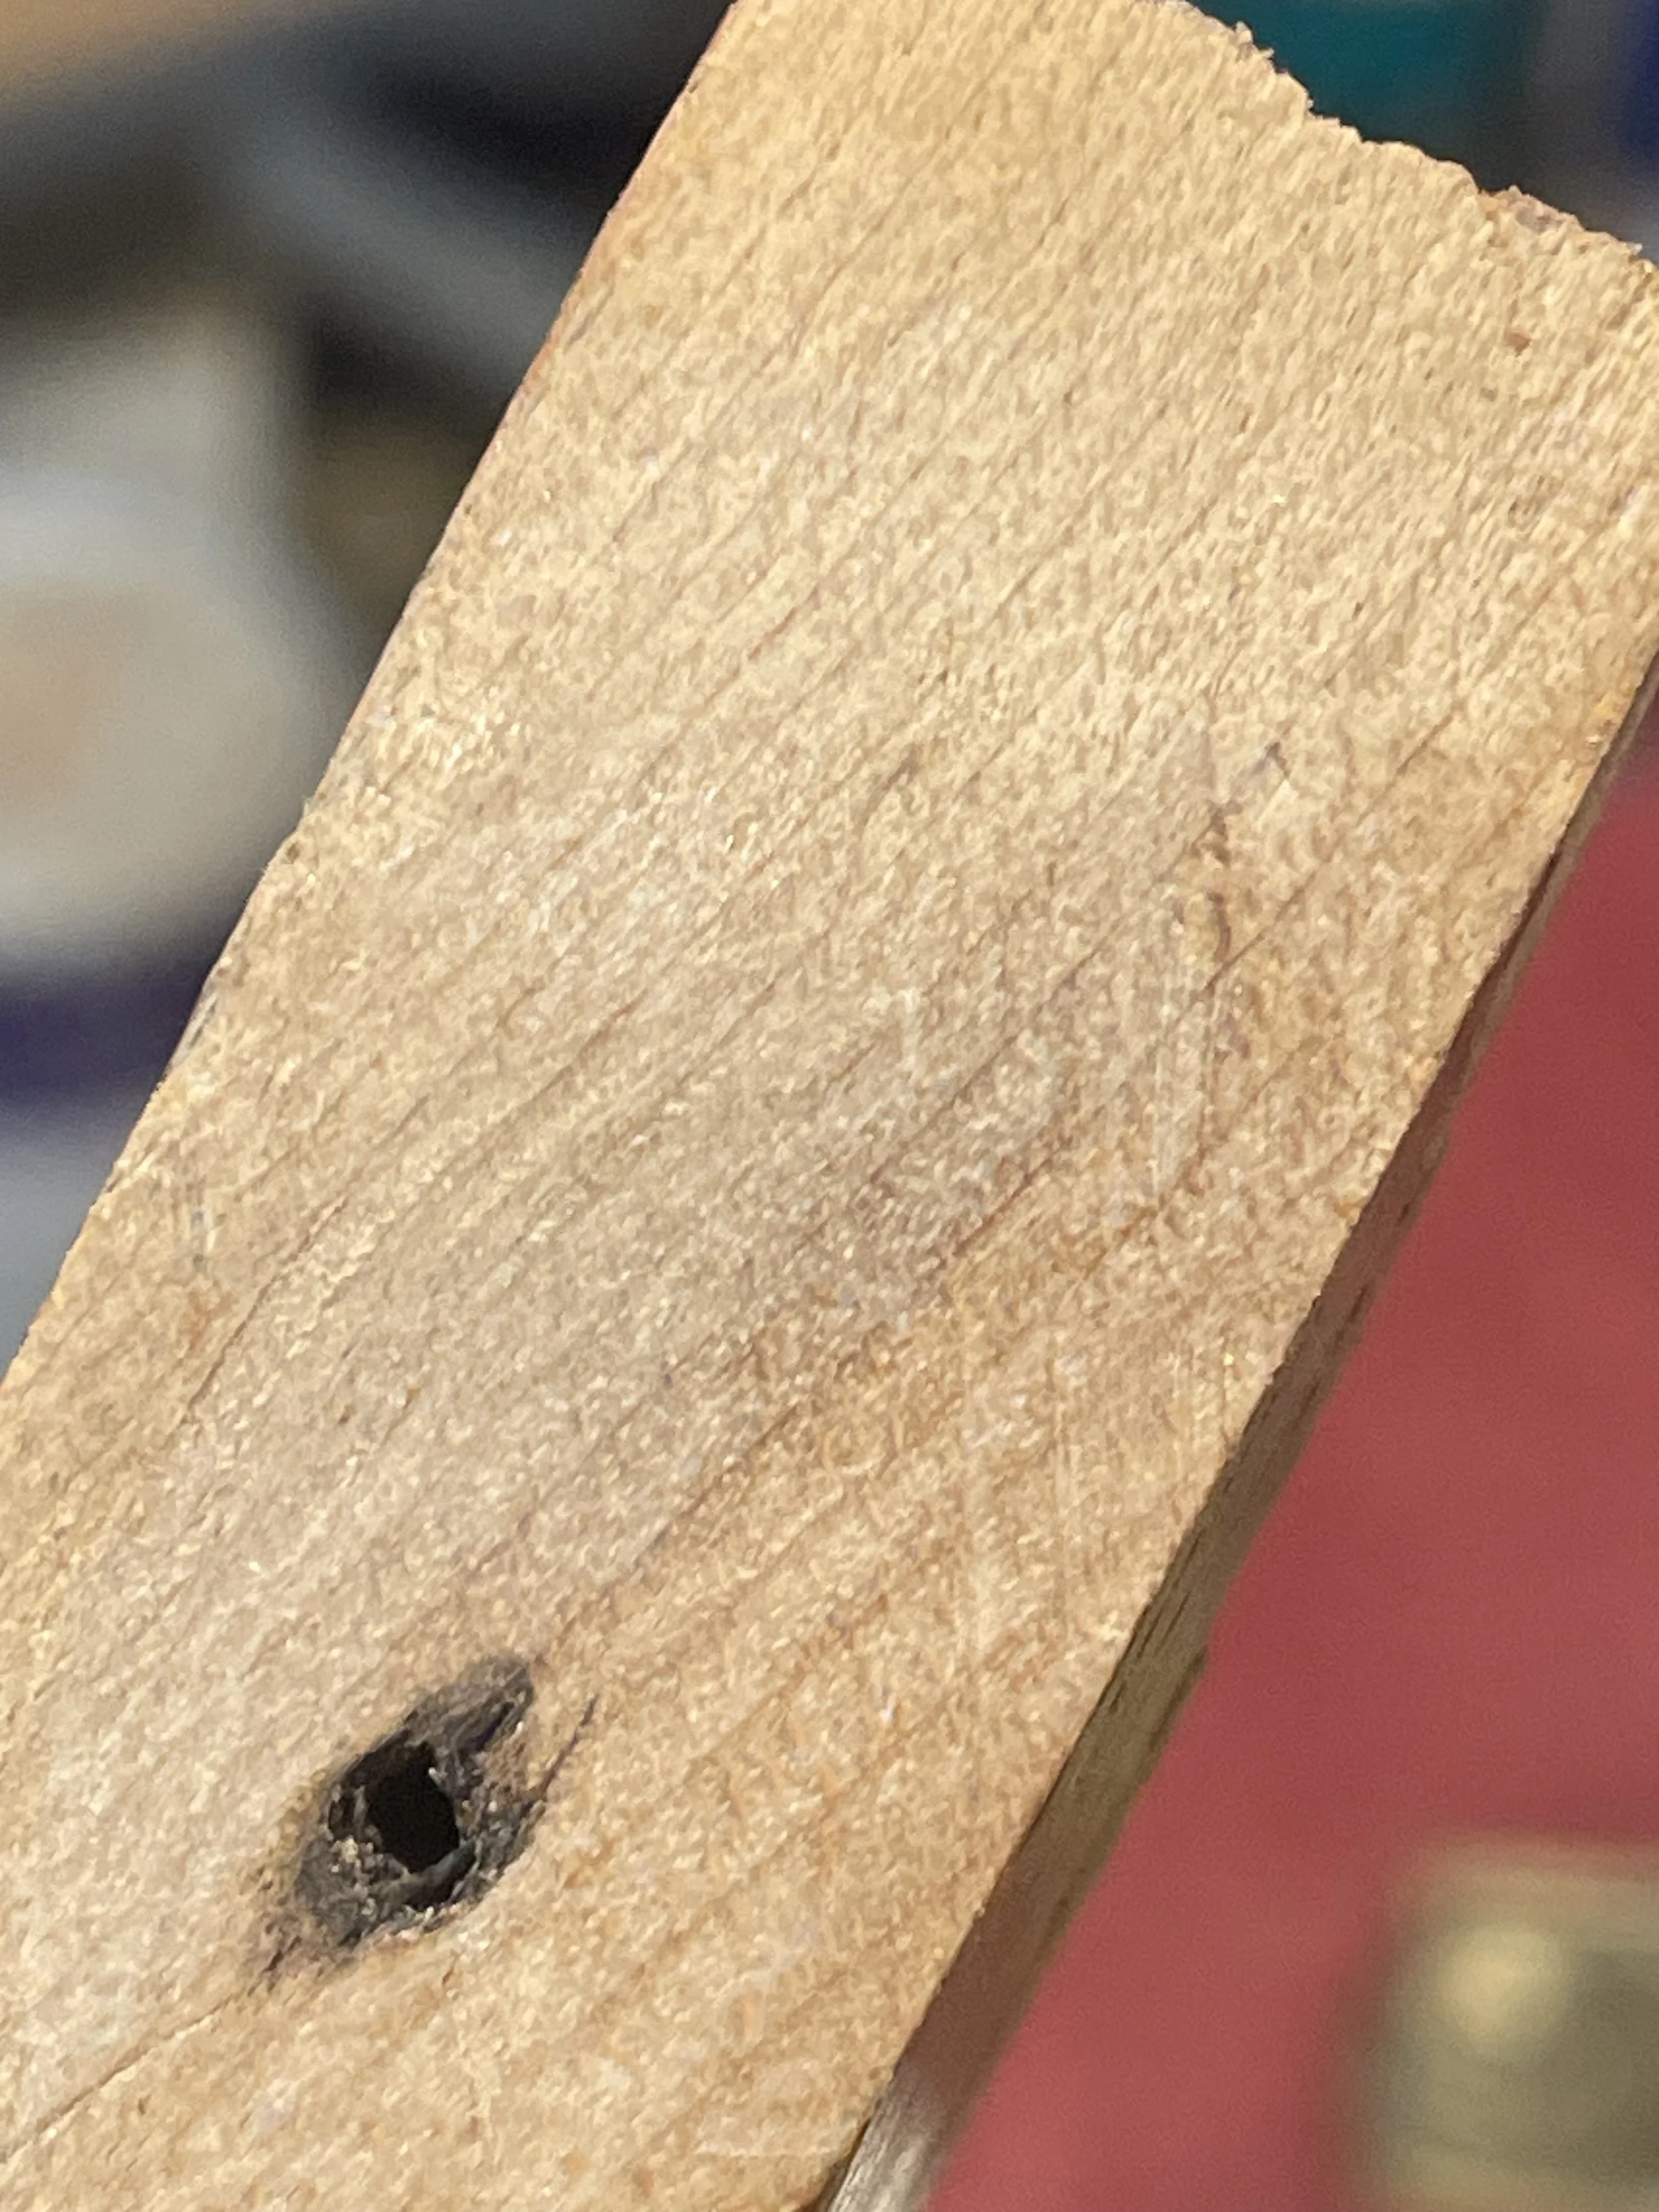
Sourced some European beech online. Cut an oversized piece after a lot of measuring. Used hot hide glue. No dowels. Also complex clamping.
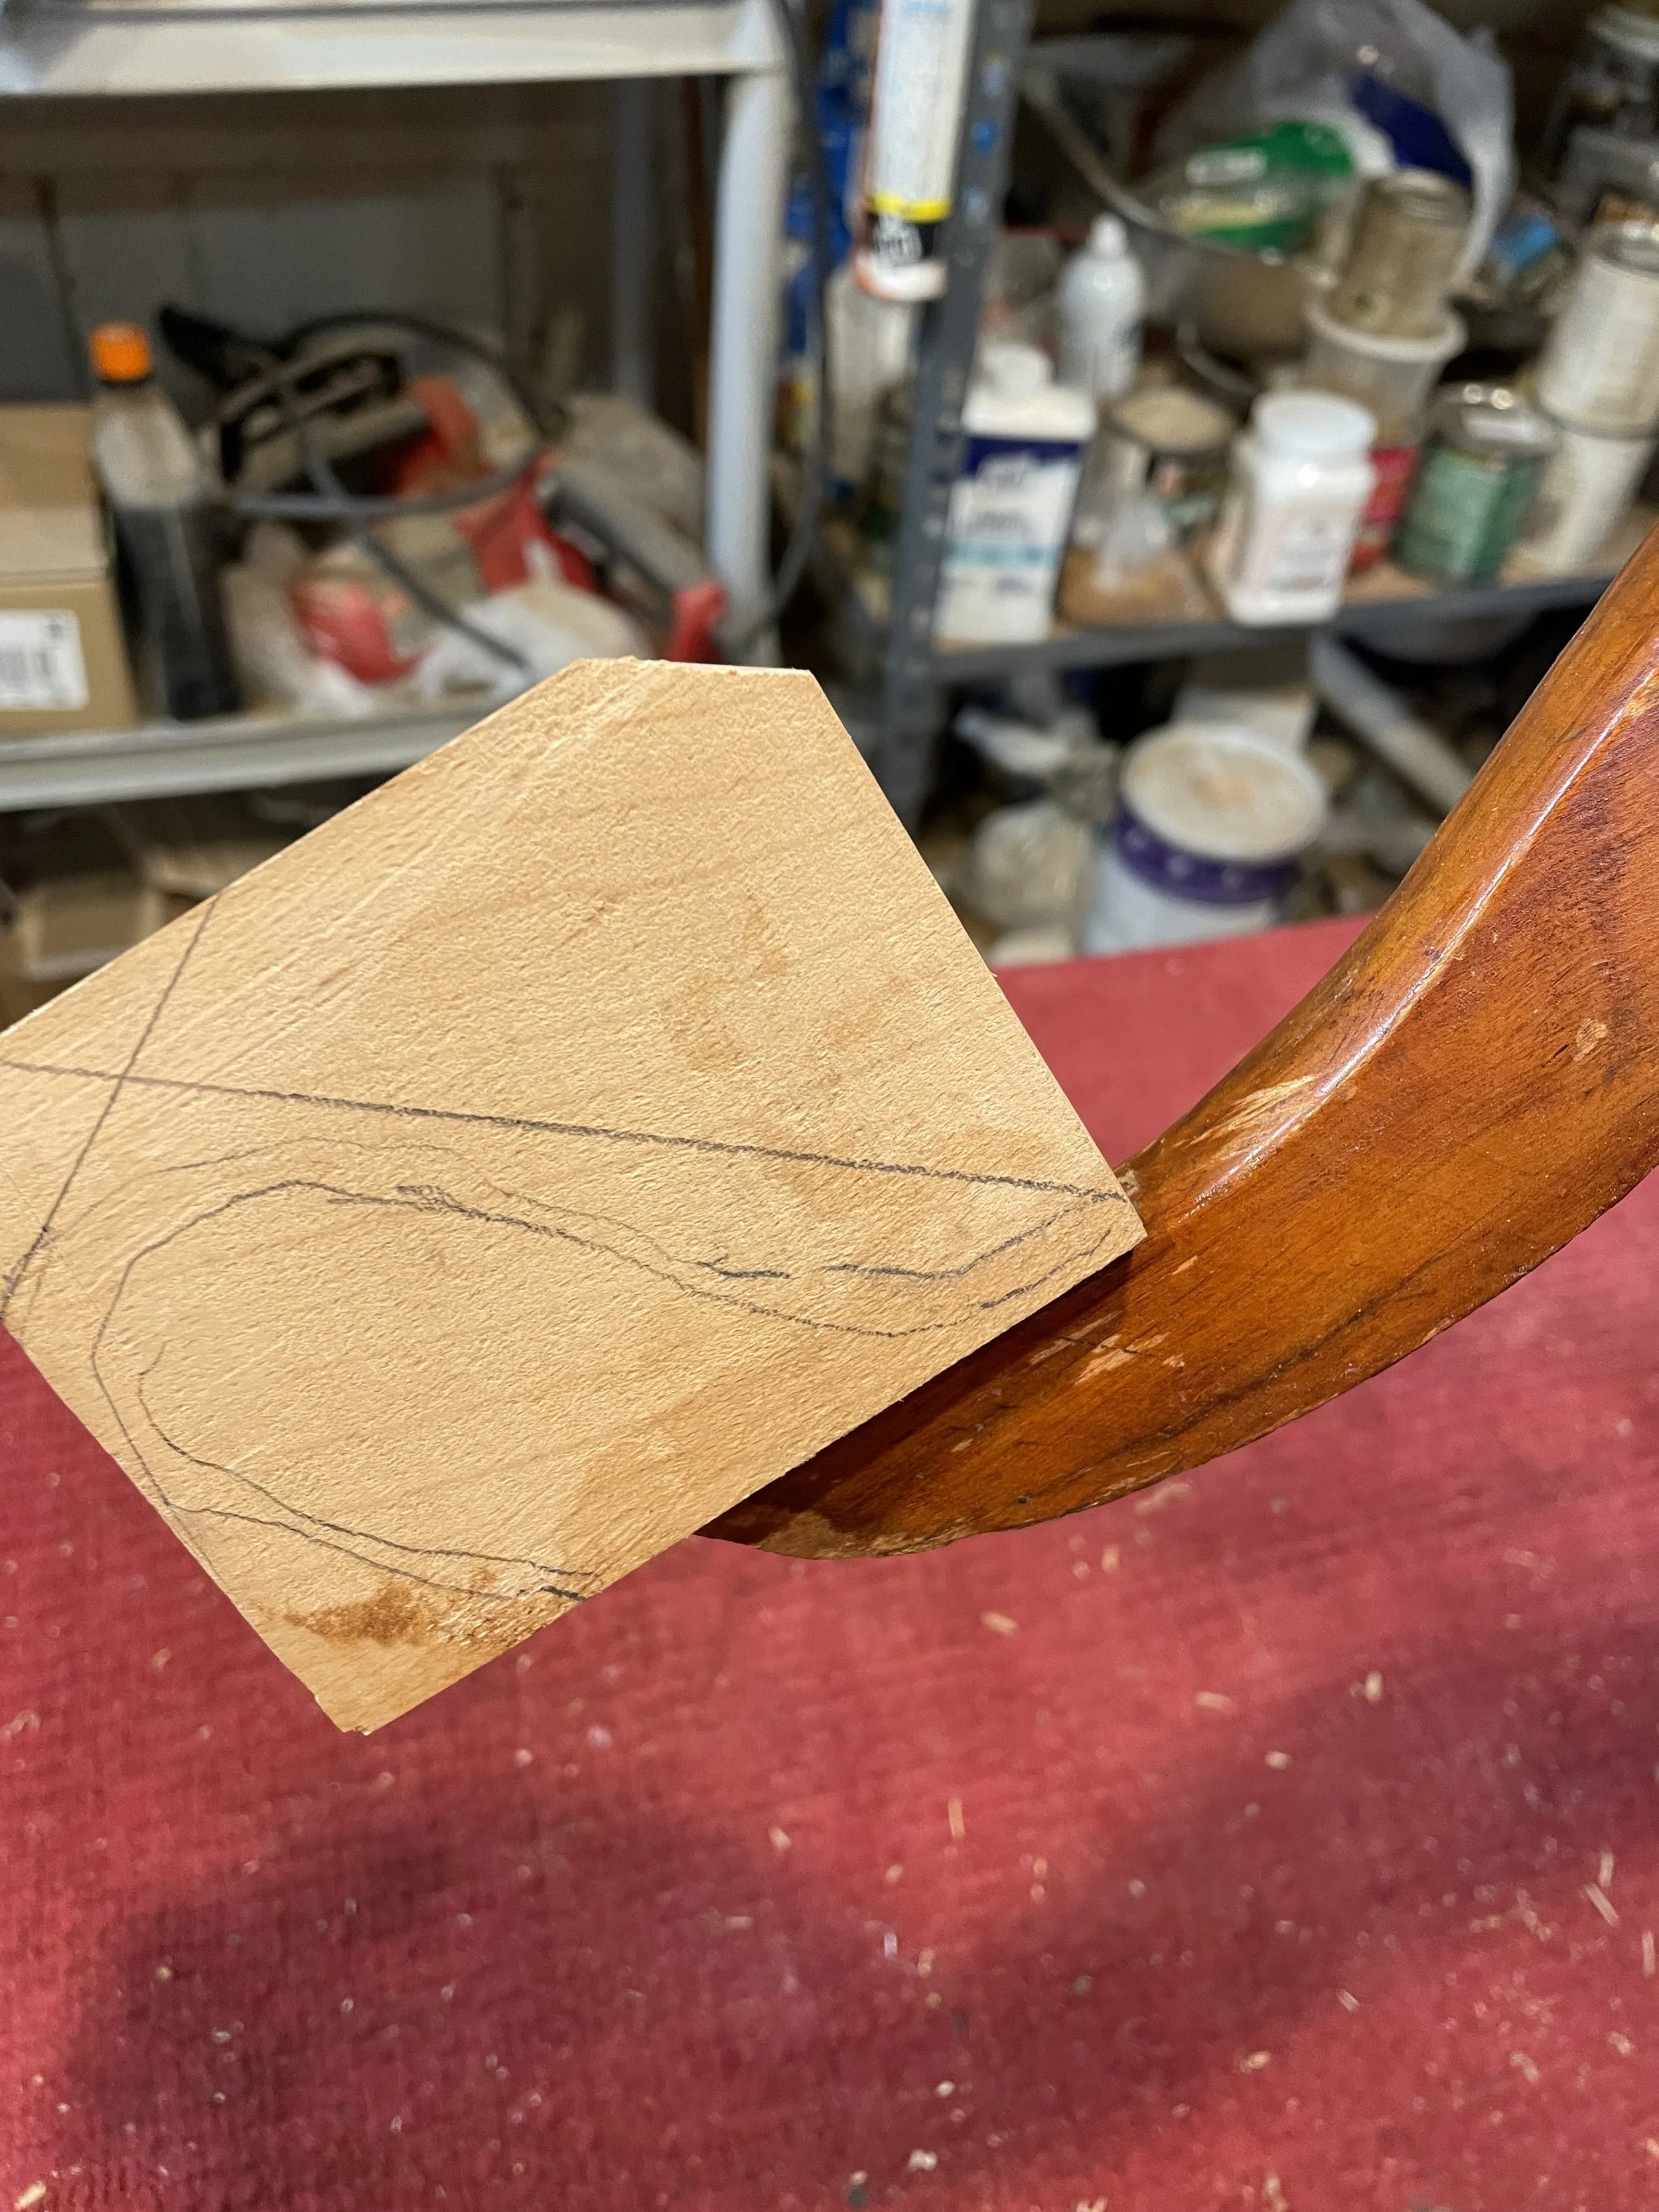
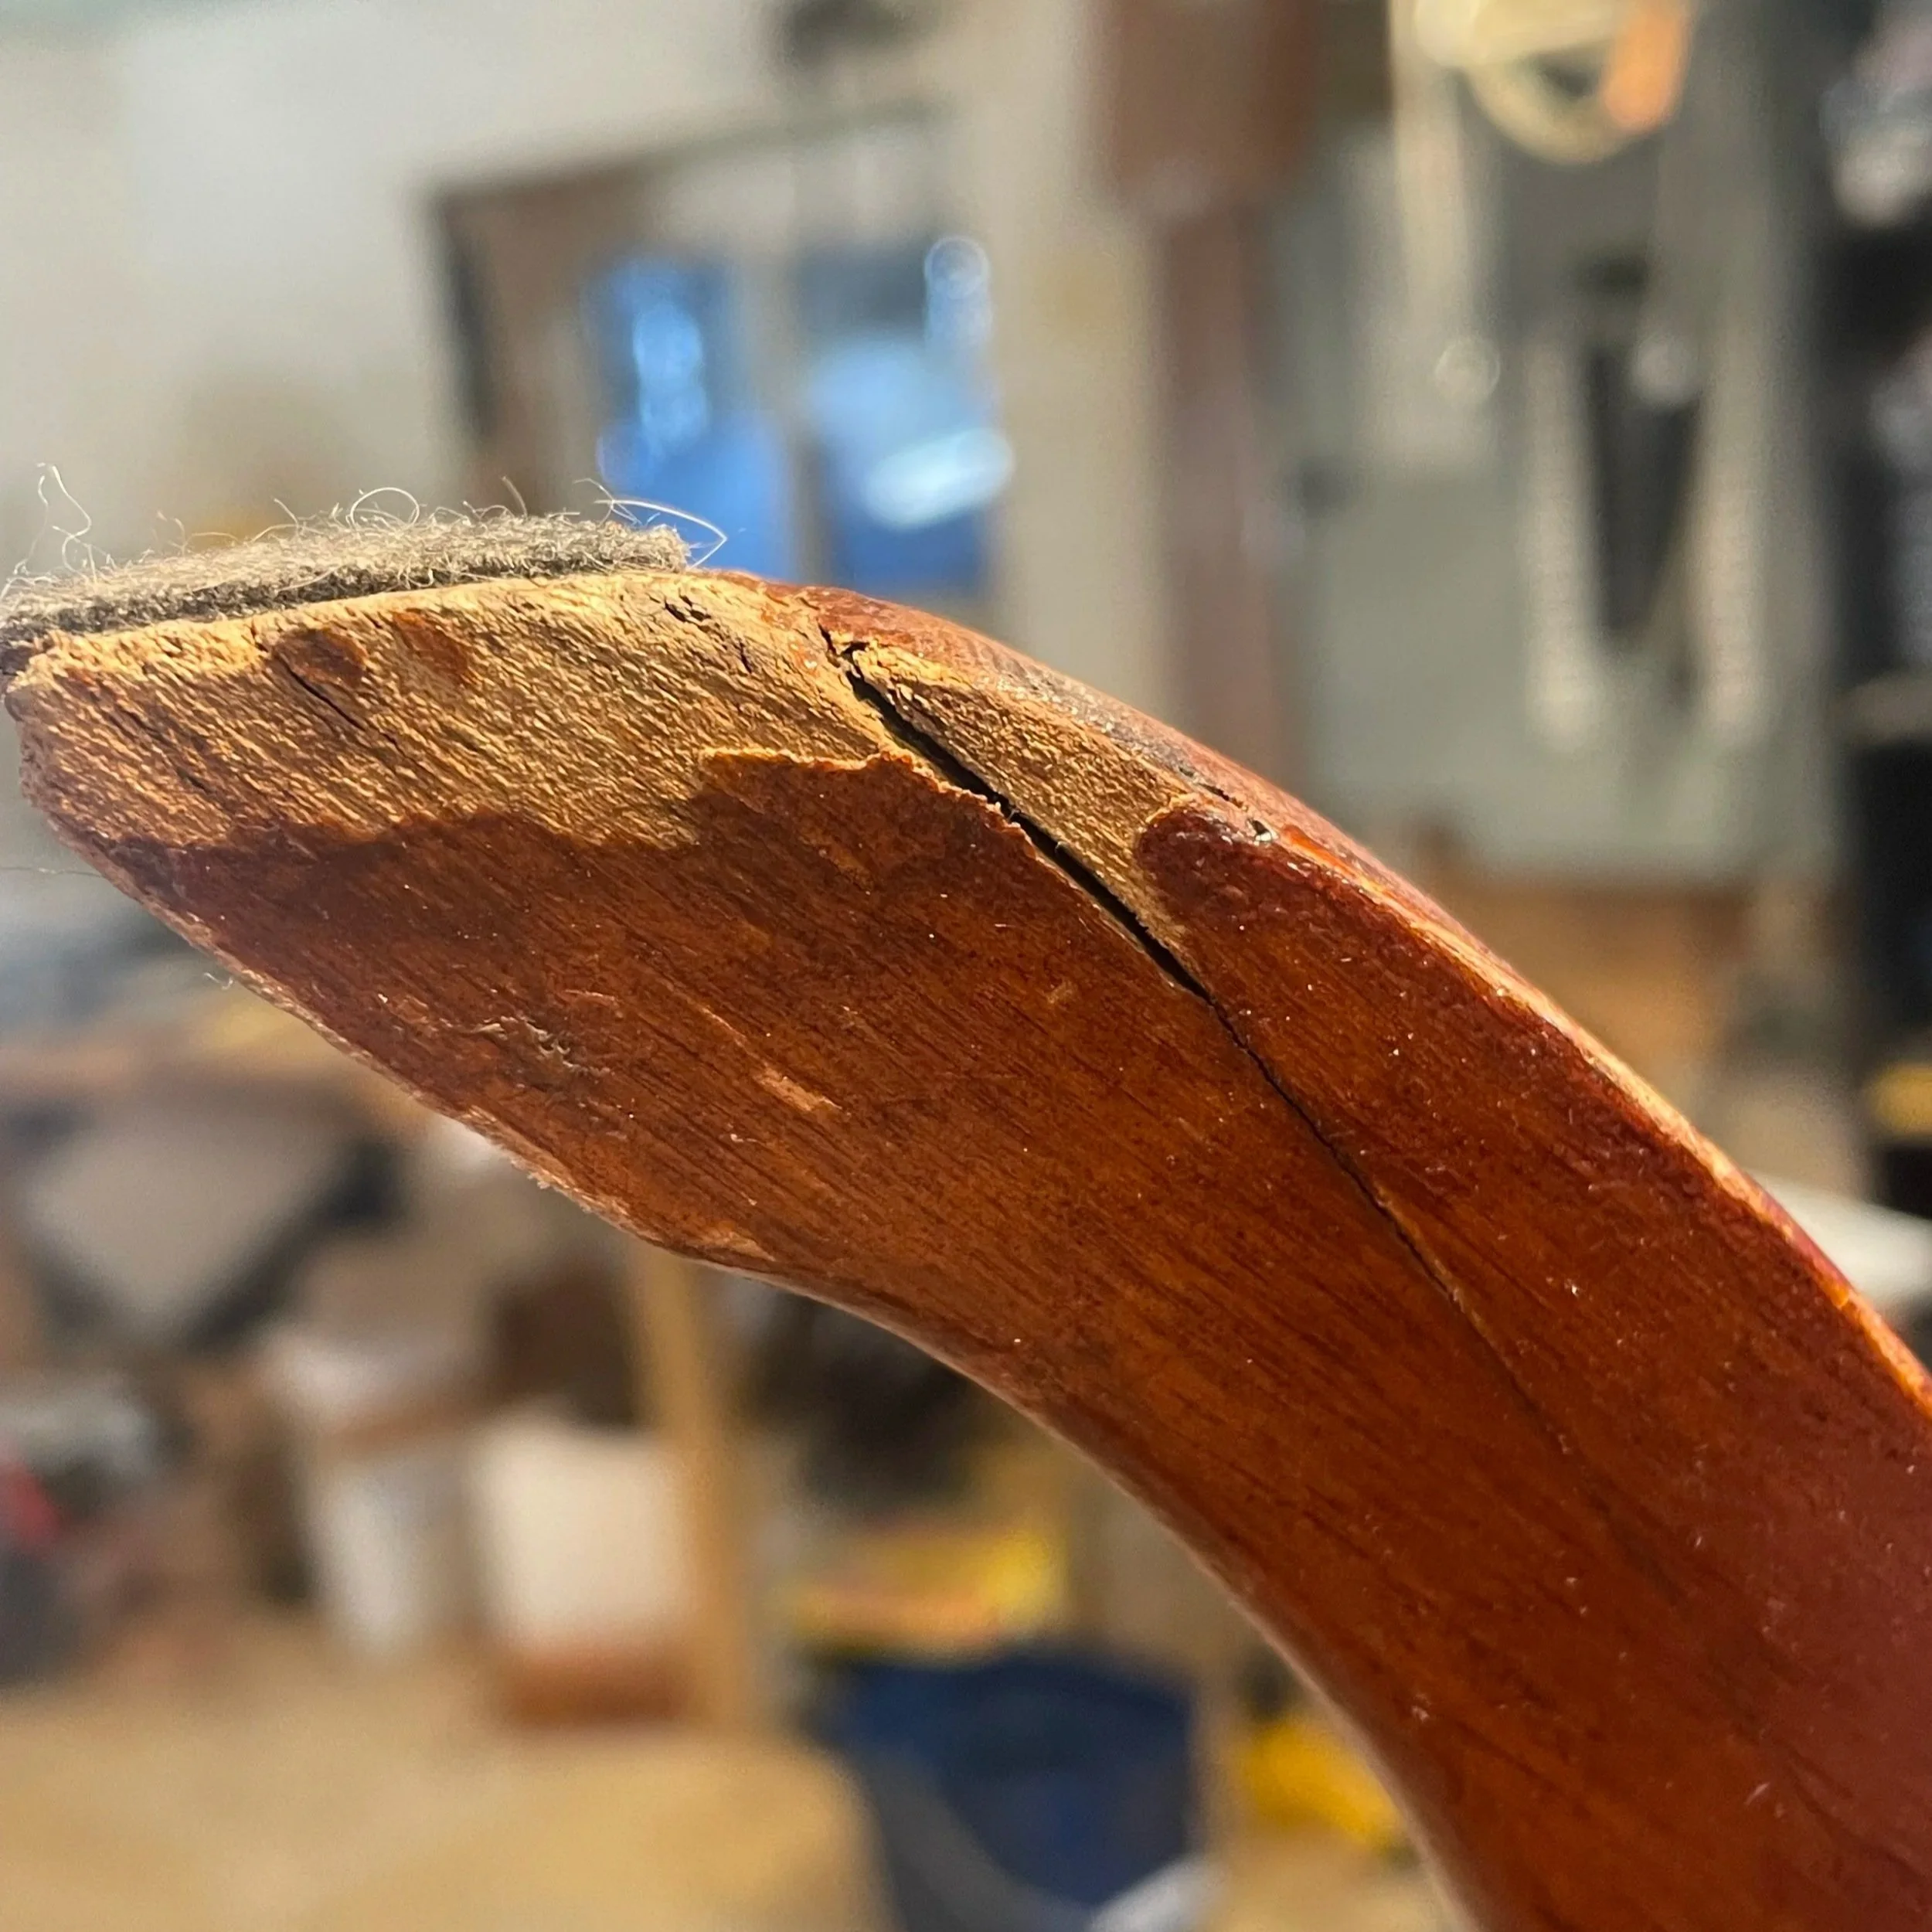
After the glue cured, outlined a broad shape and made a saw cutting plan.
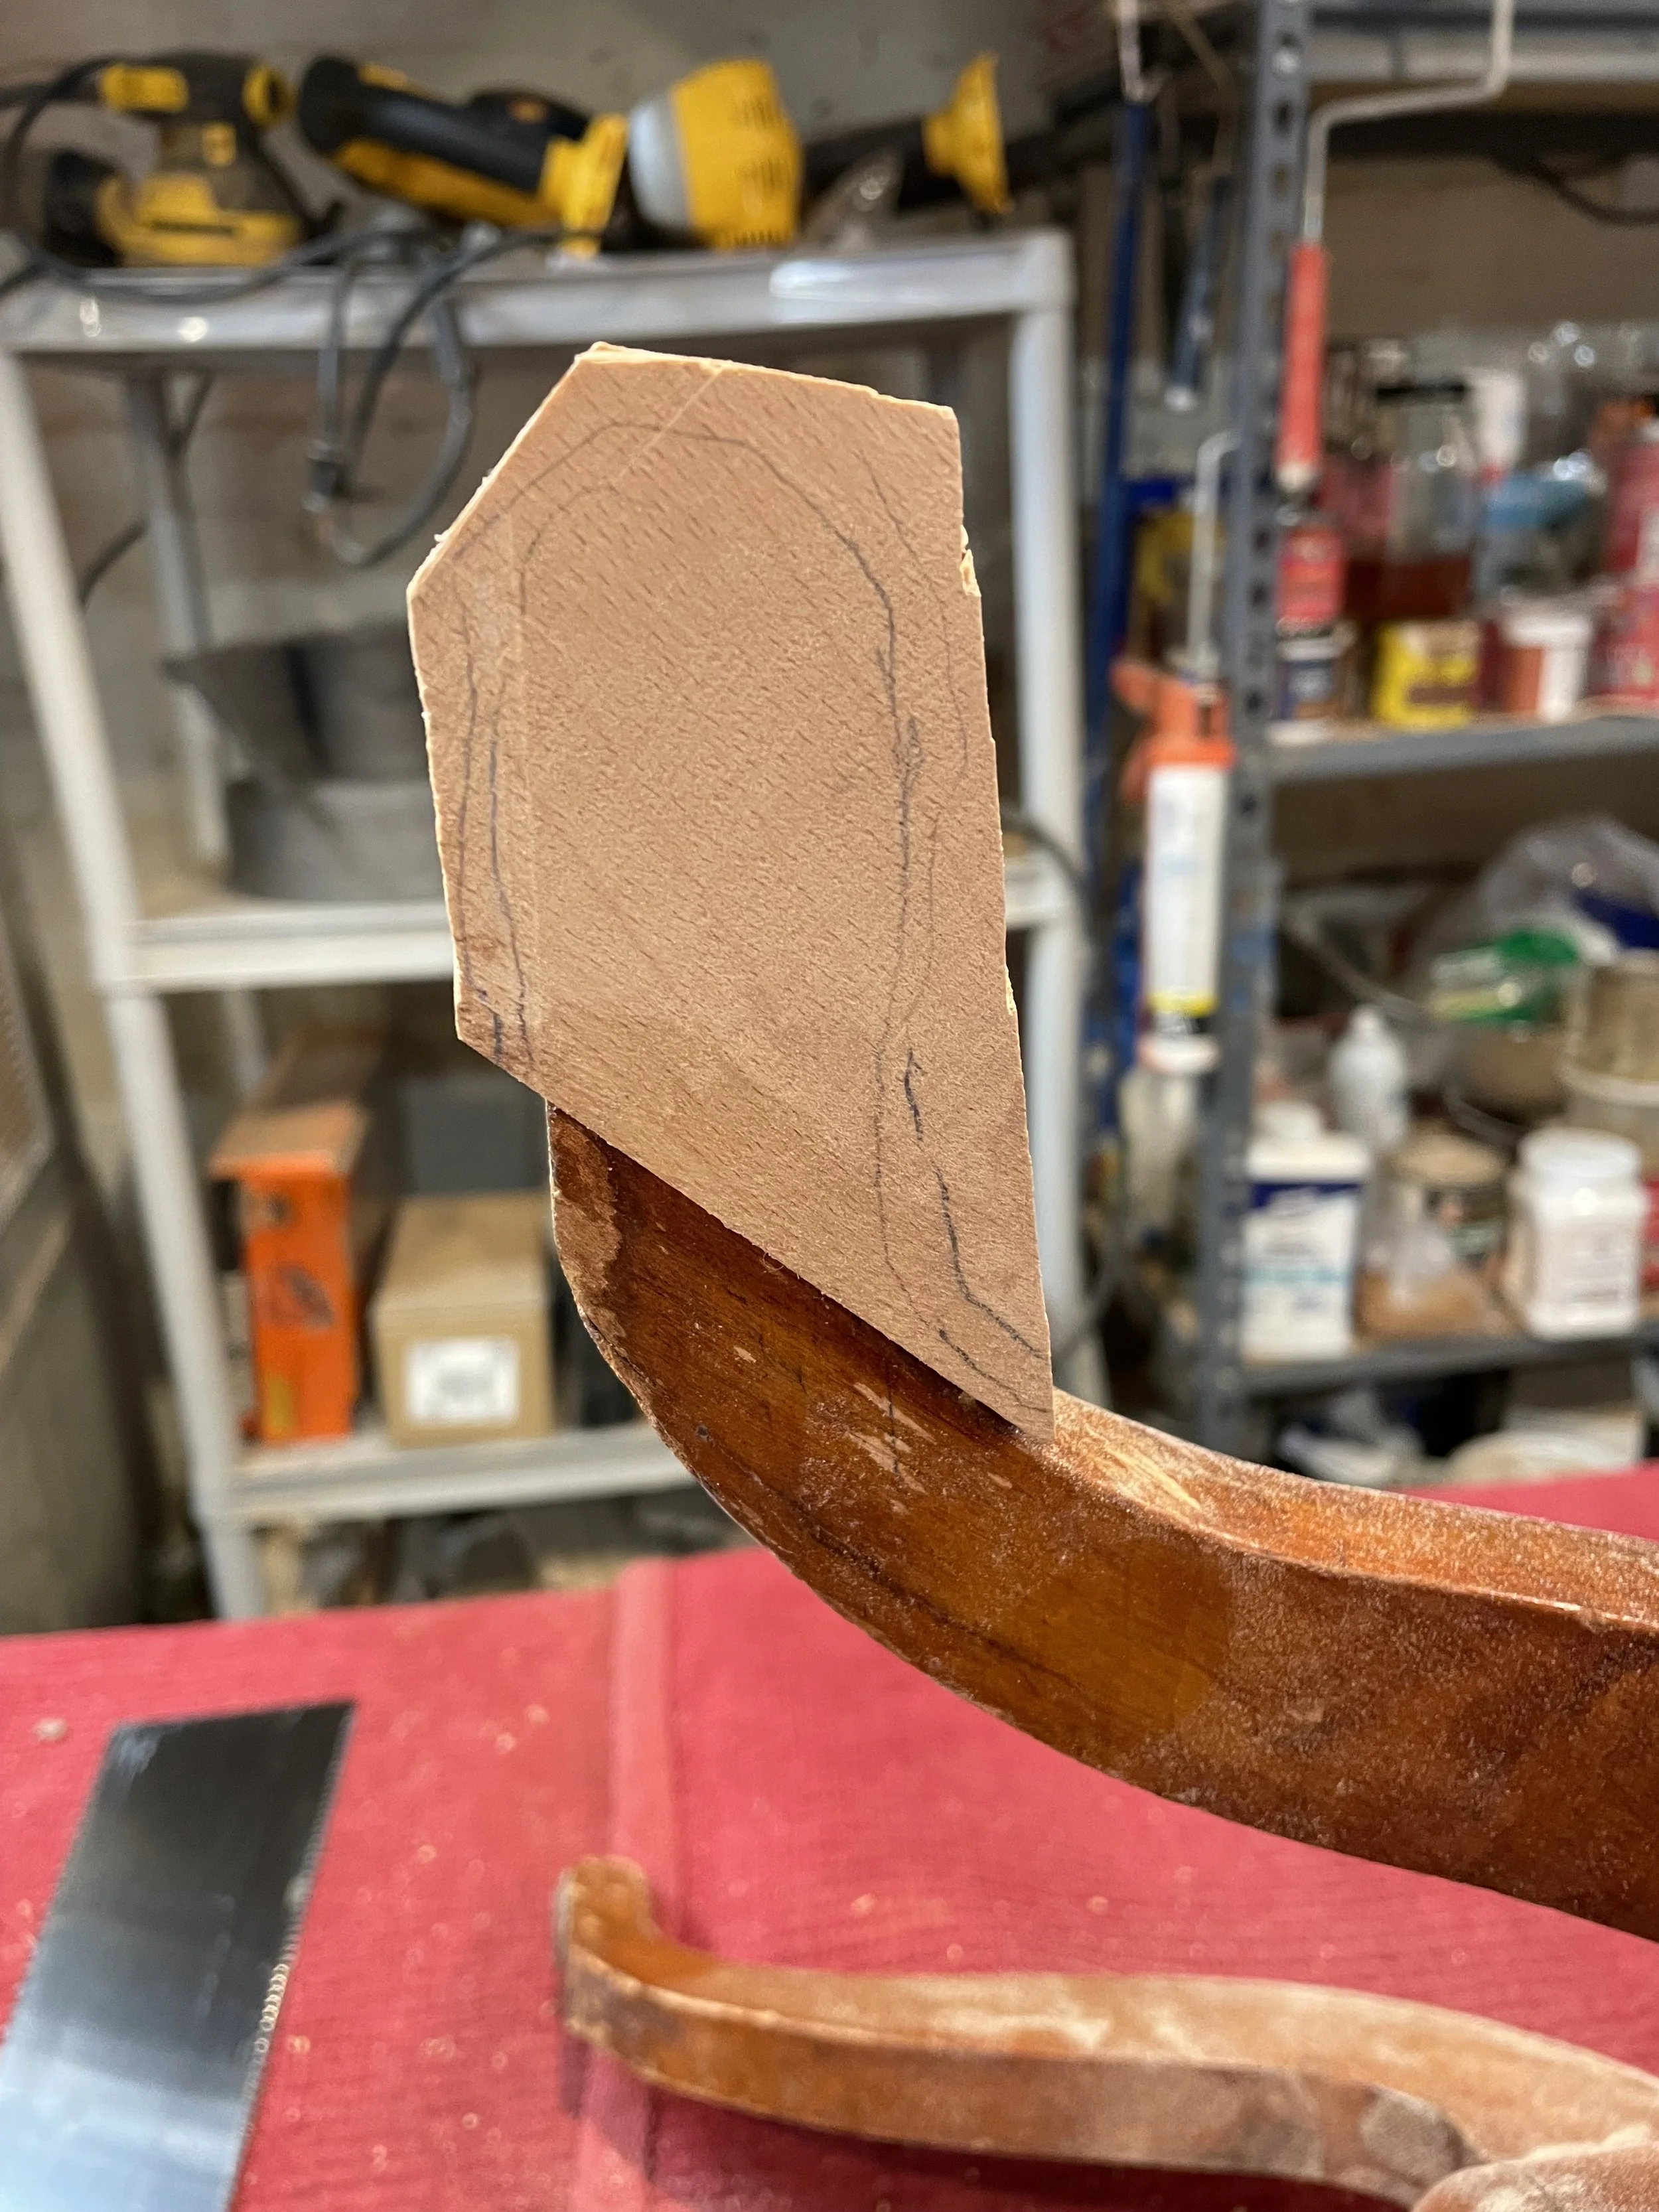
Rough shape after a few hours of hand sawing.
Going to need a lot of planing and shaping...
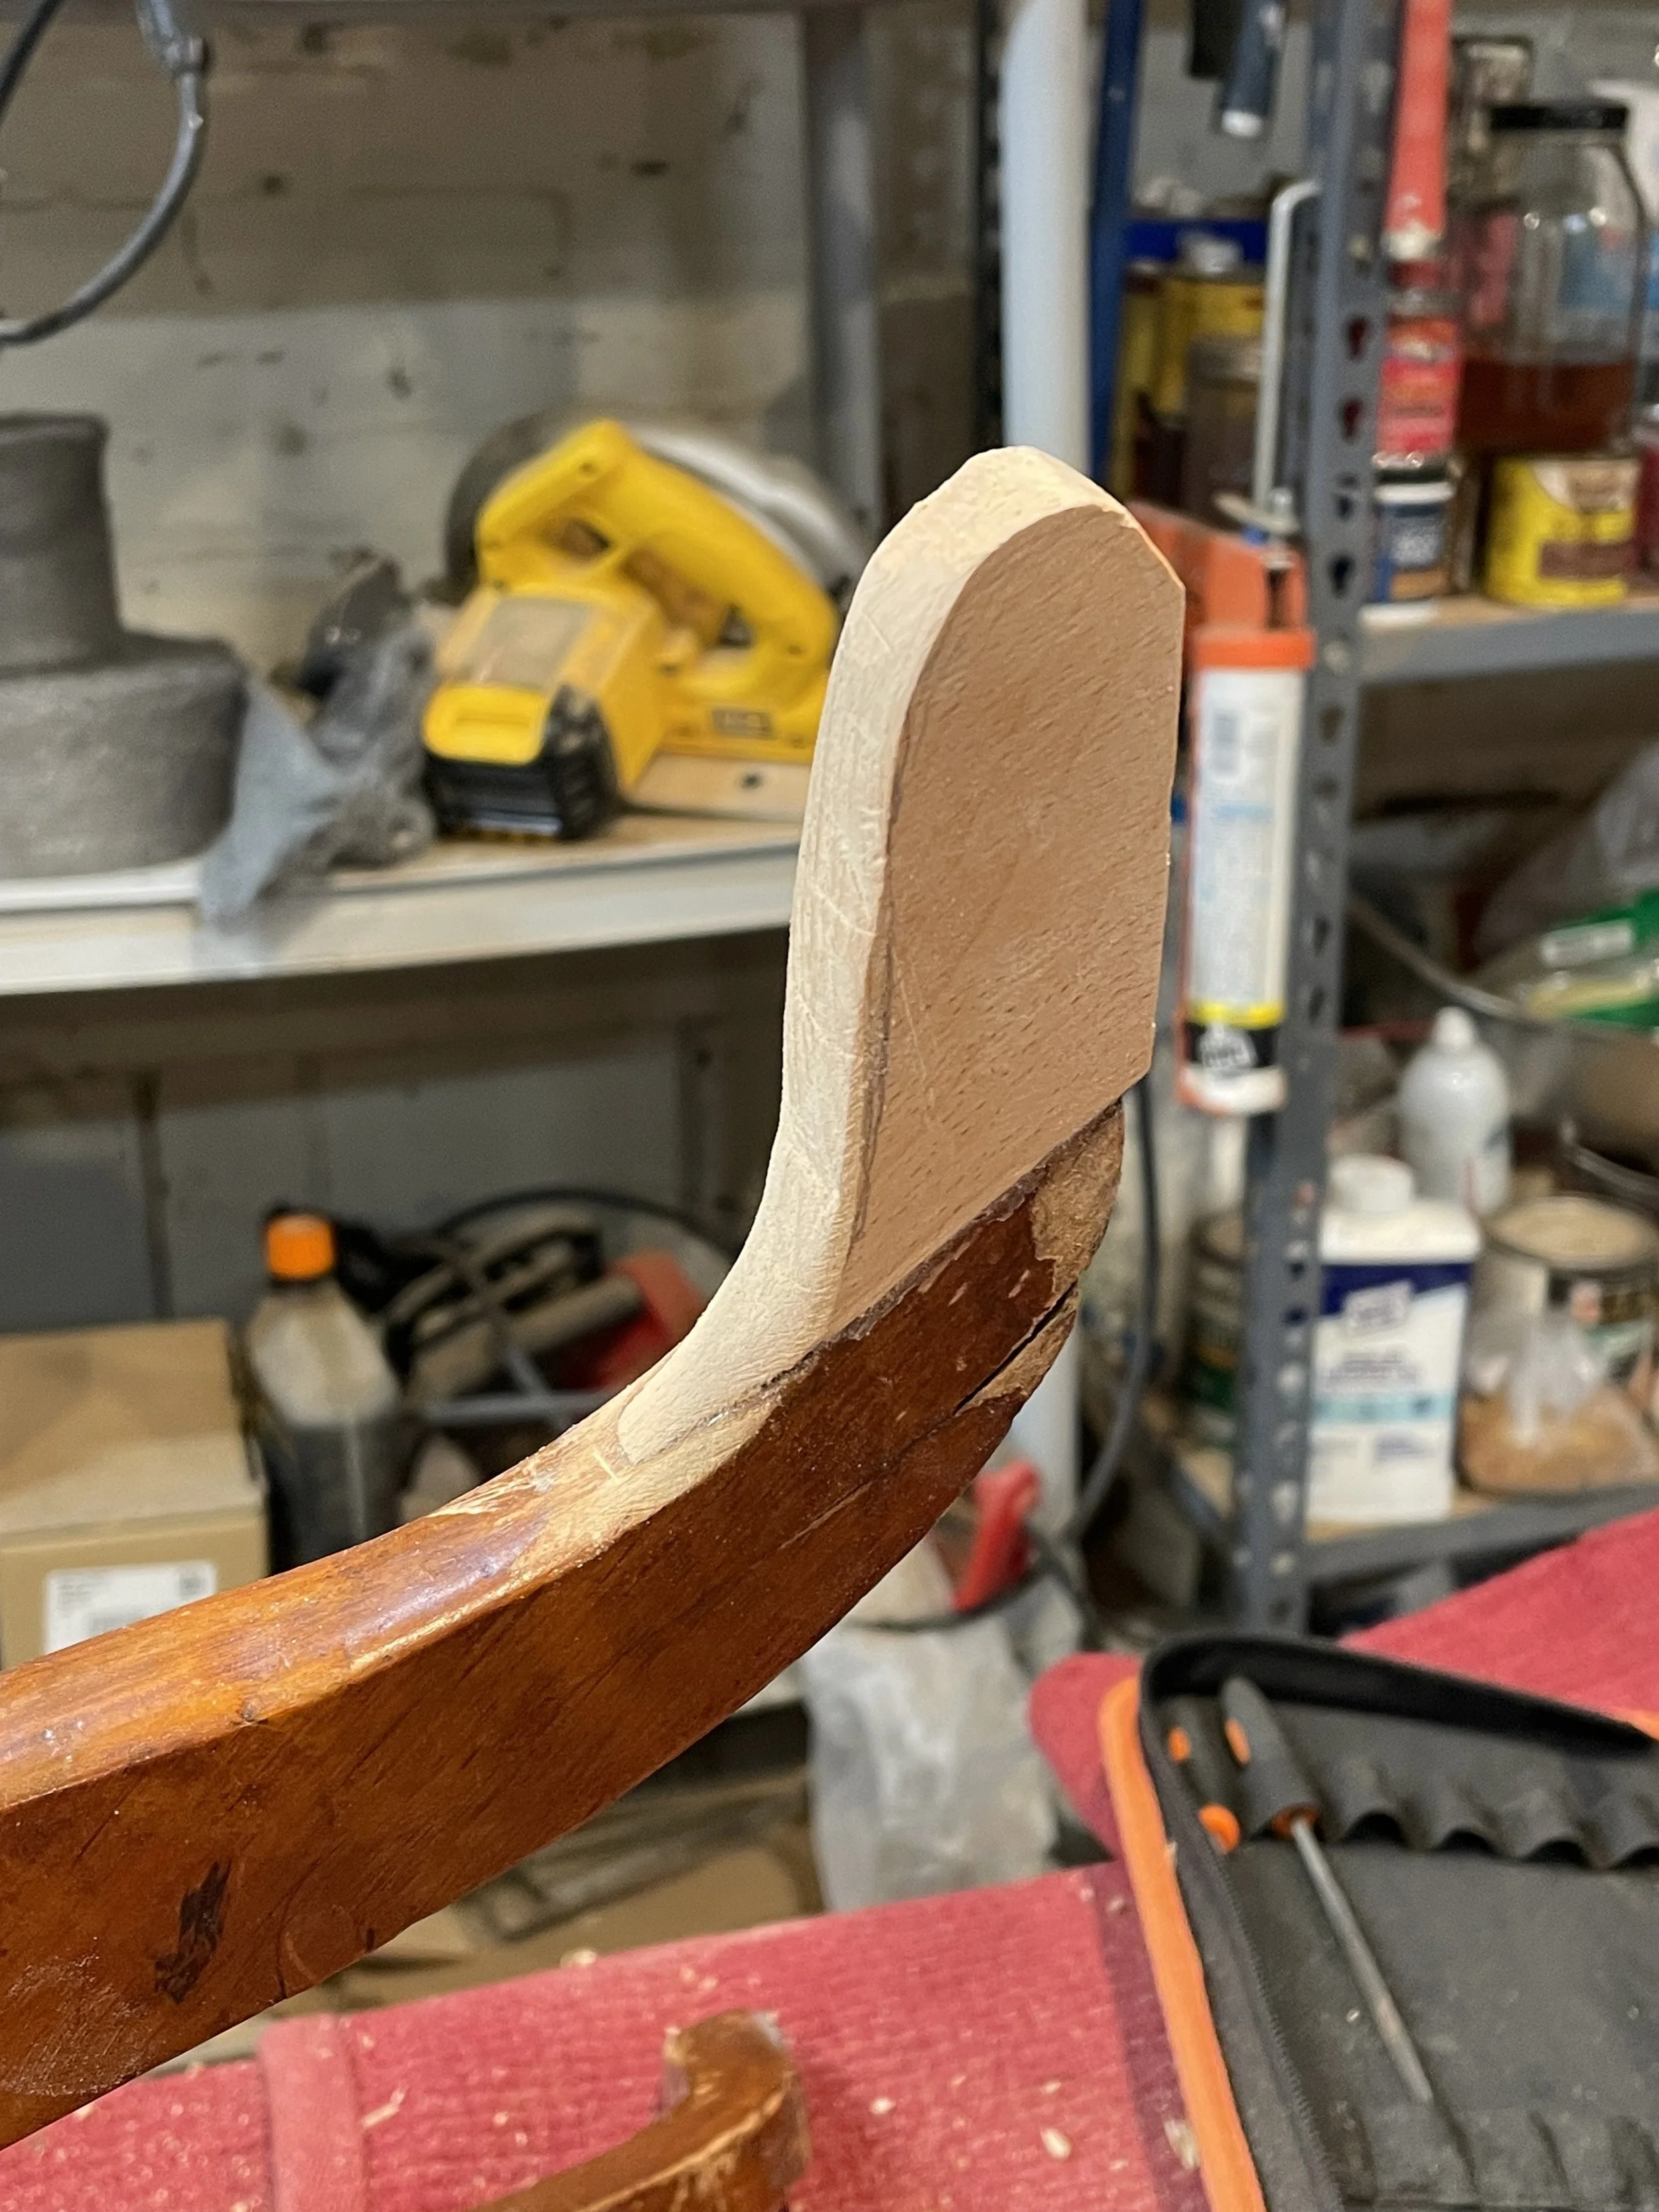
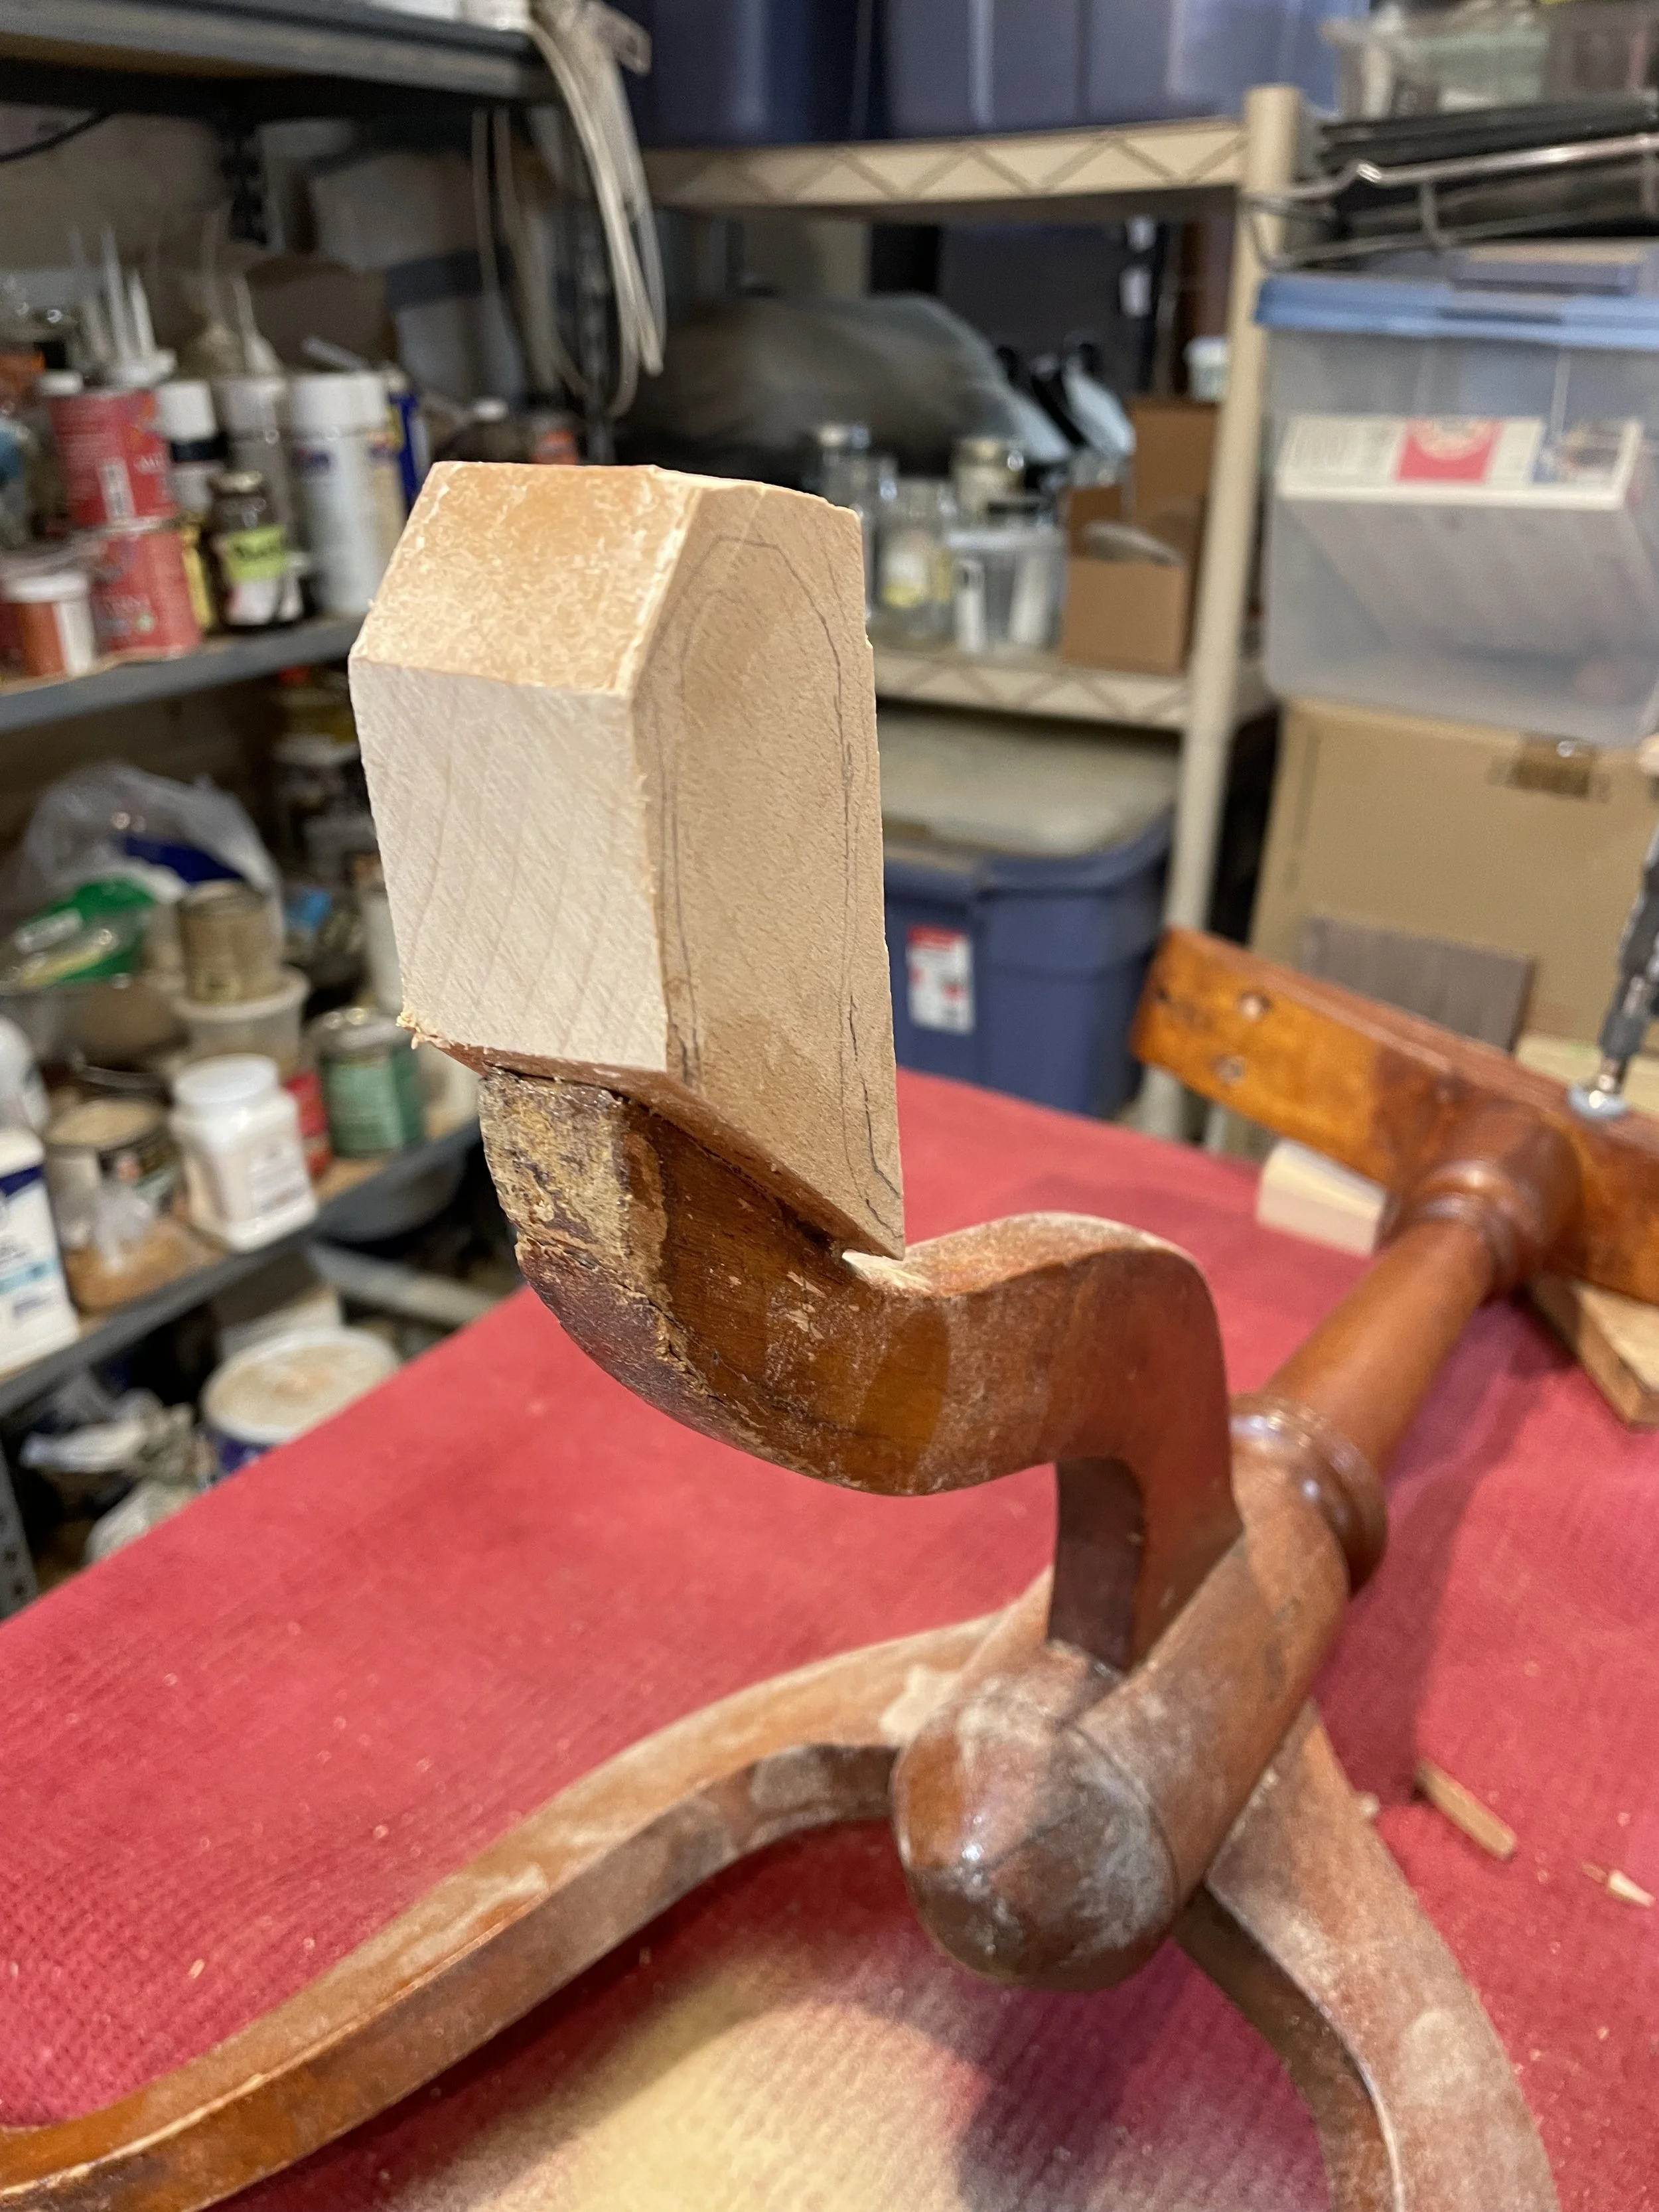
After cutting, time to use all the hand tools: hand planes, rasps, files...
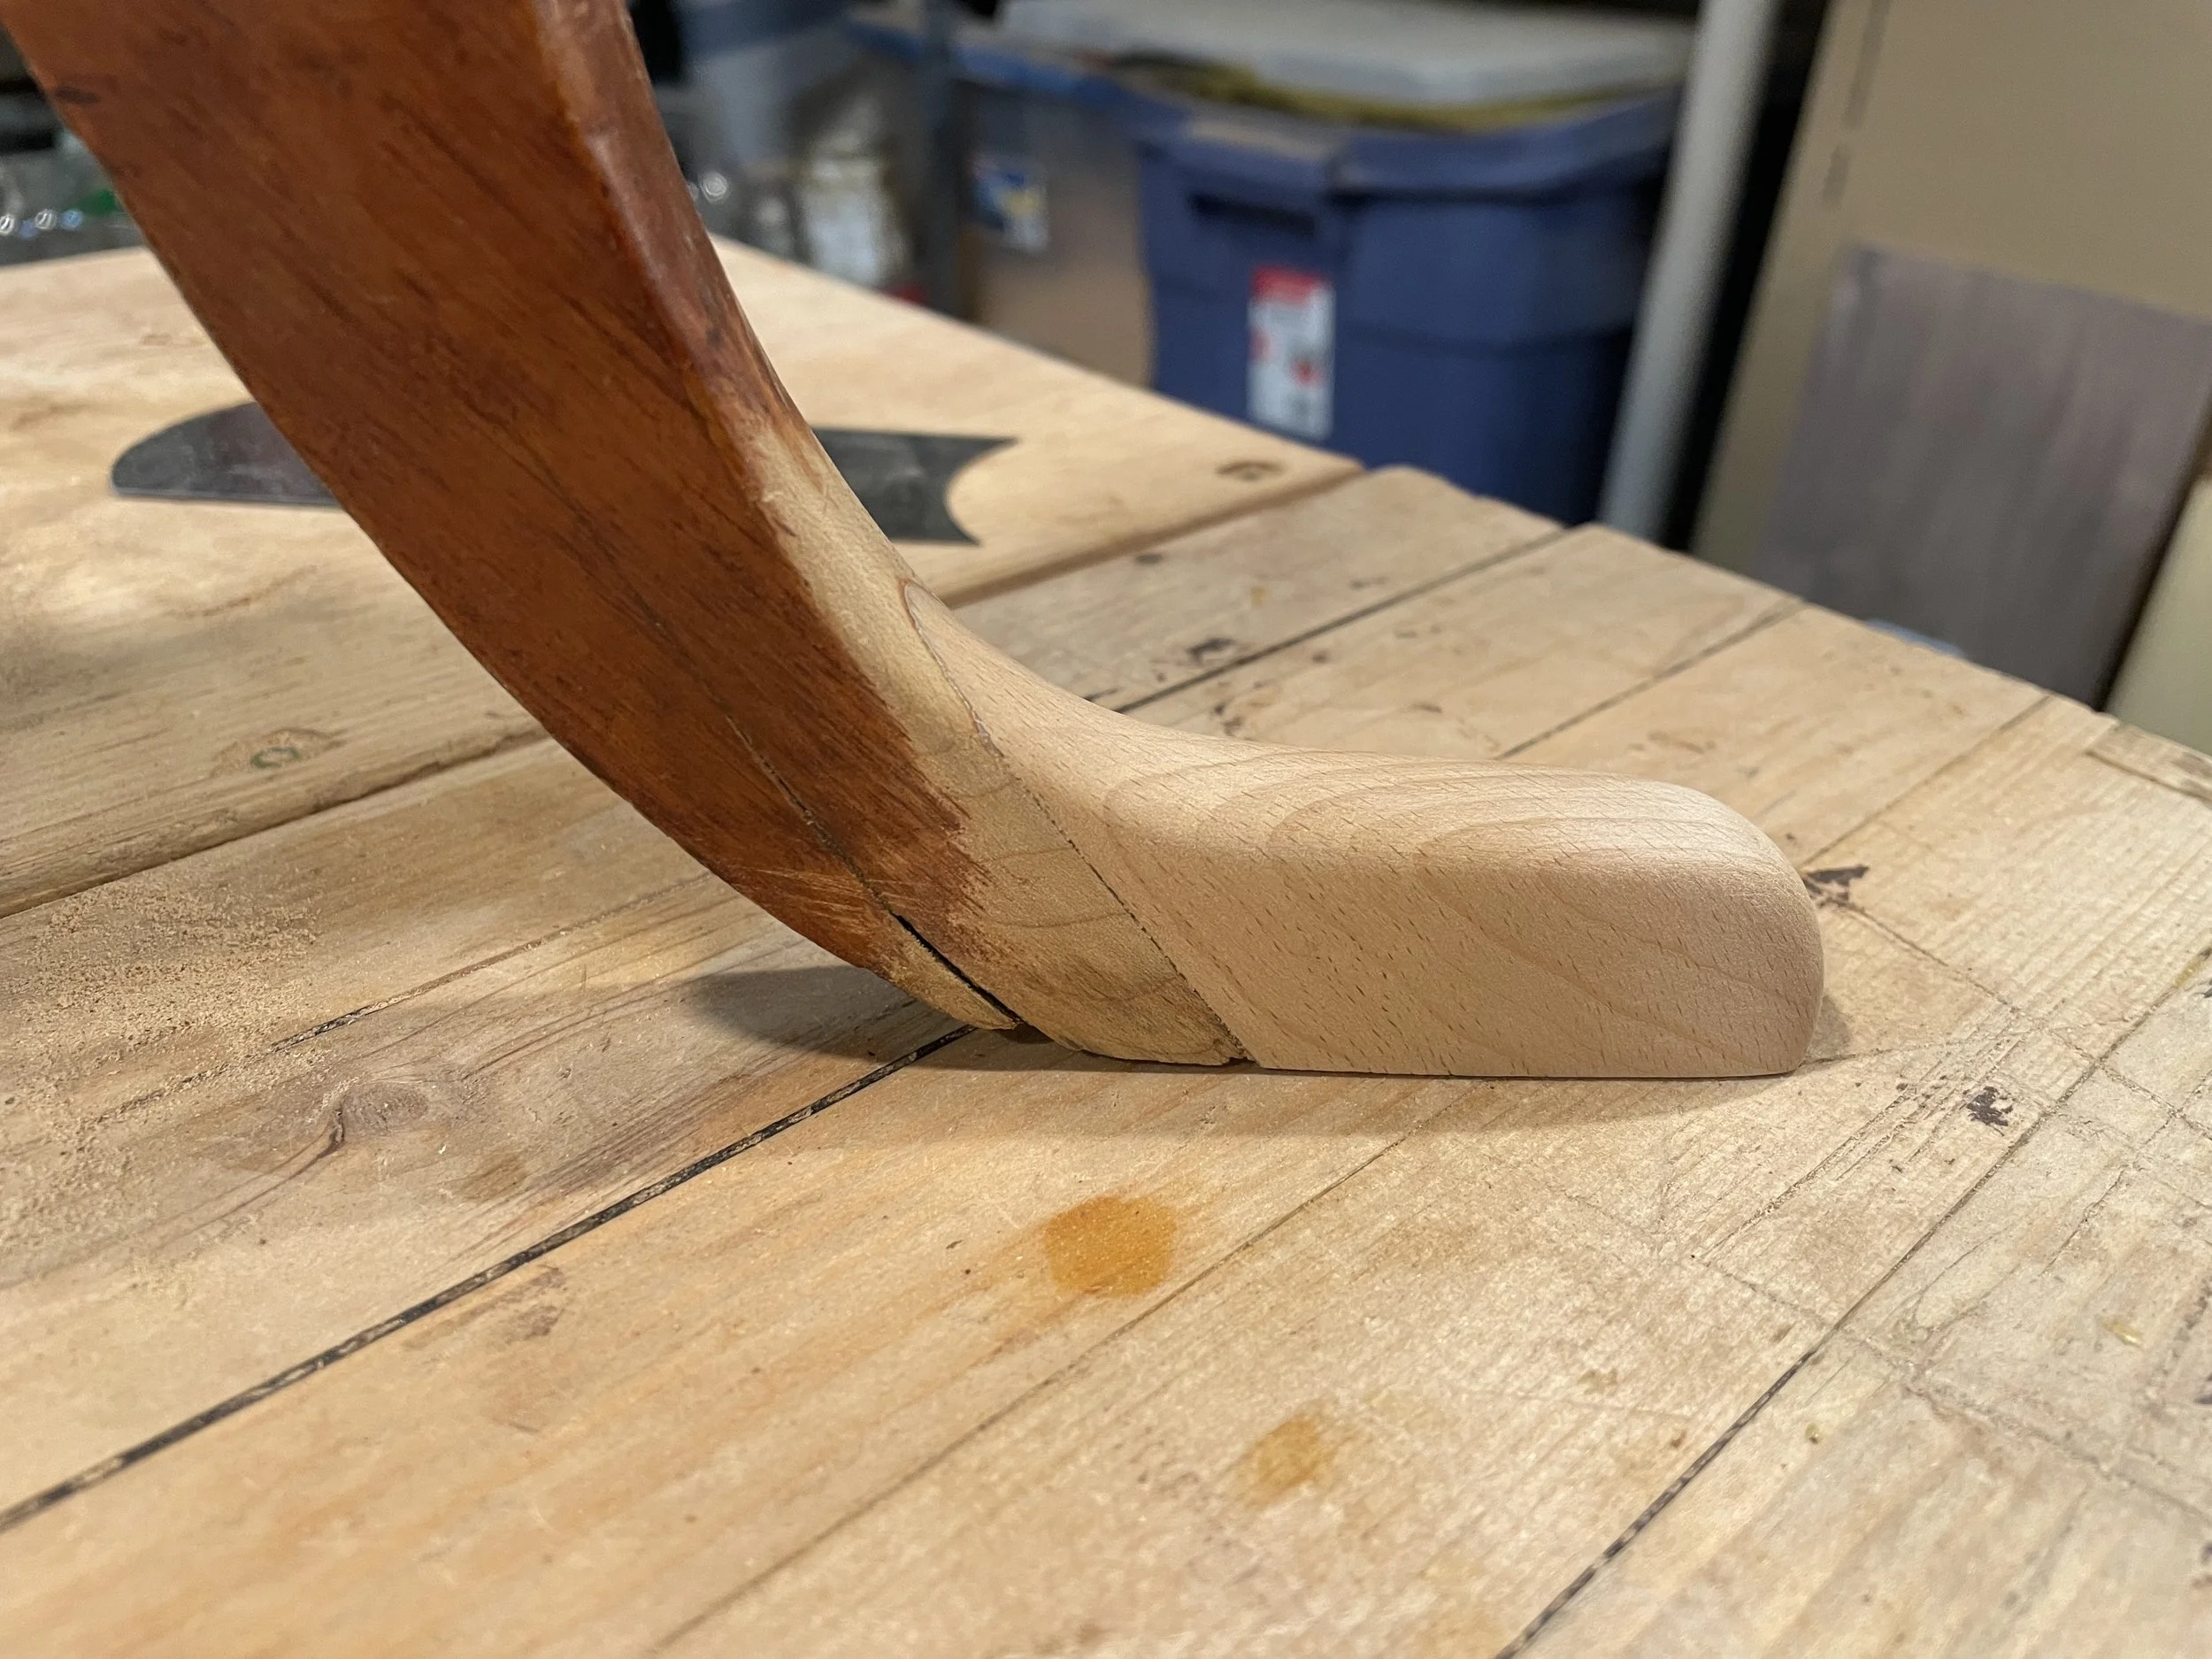
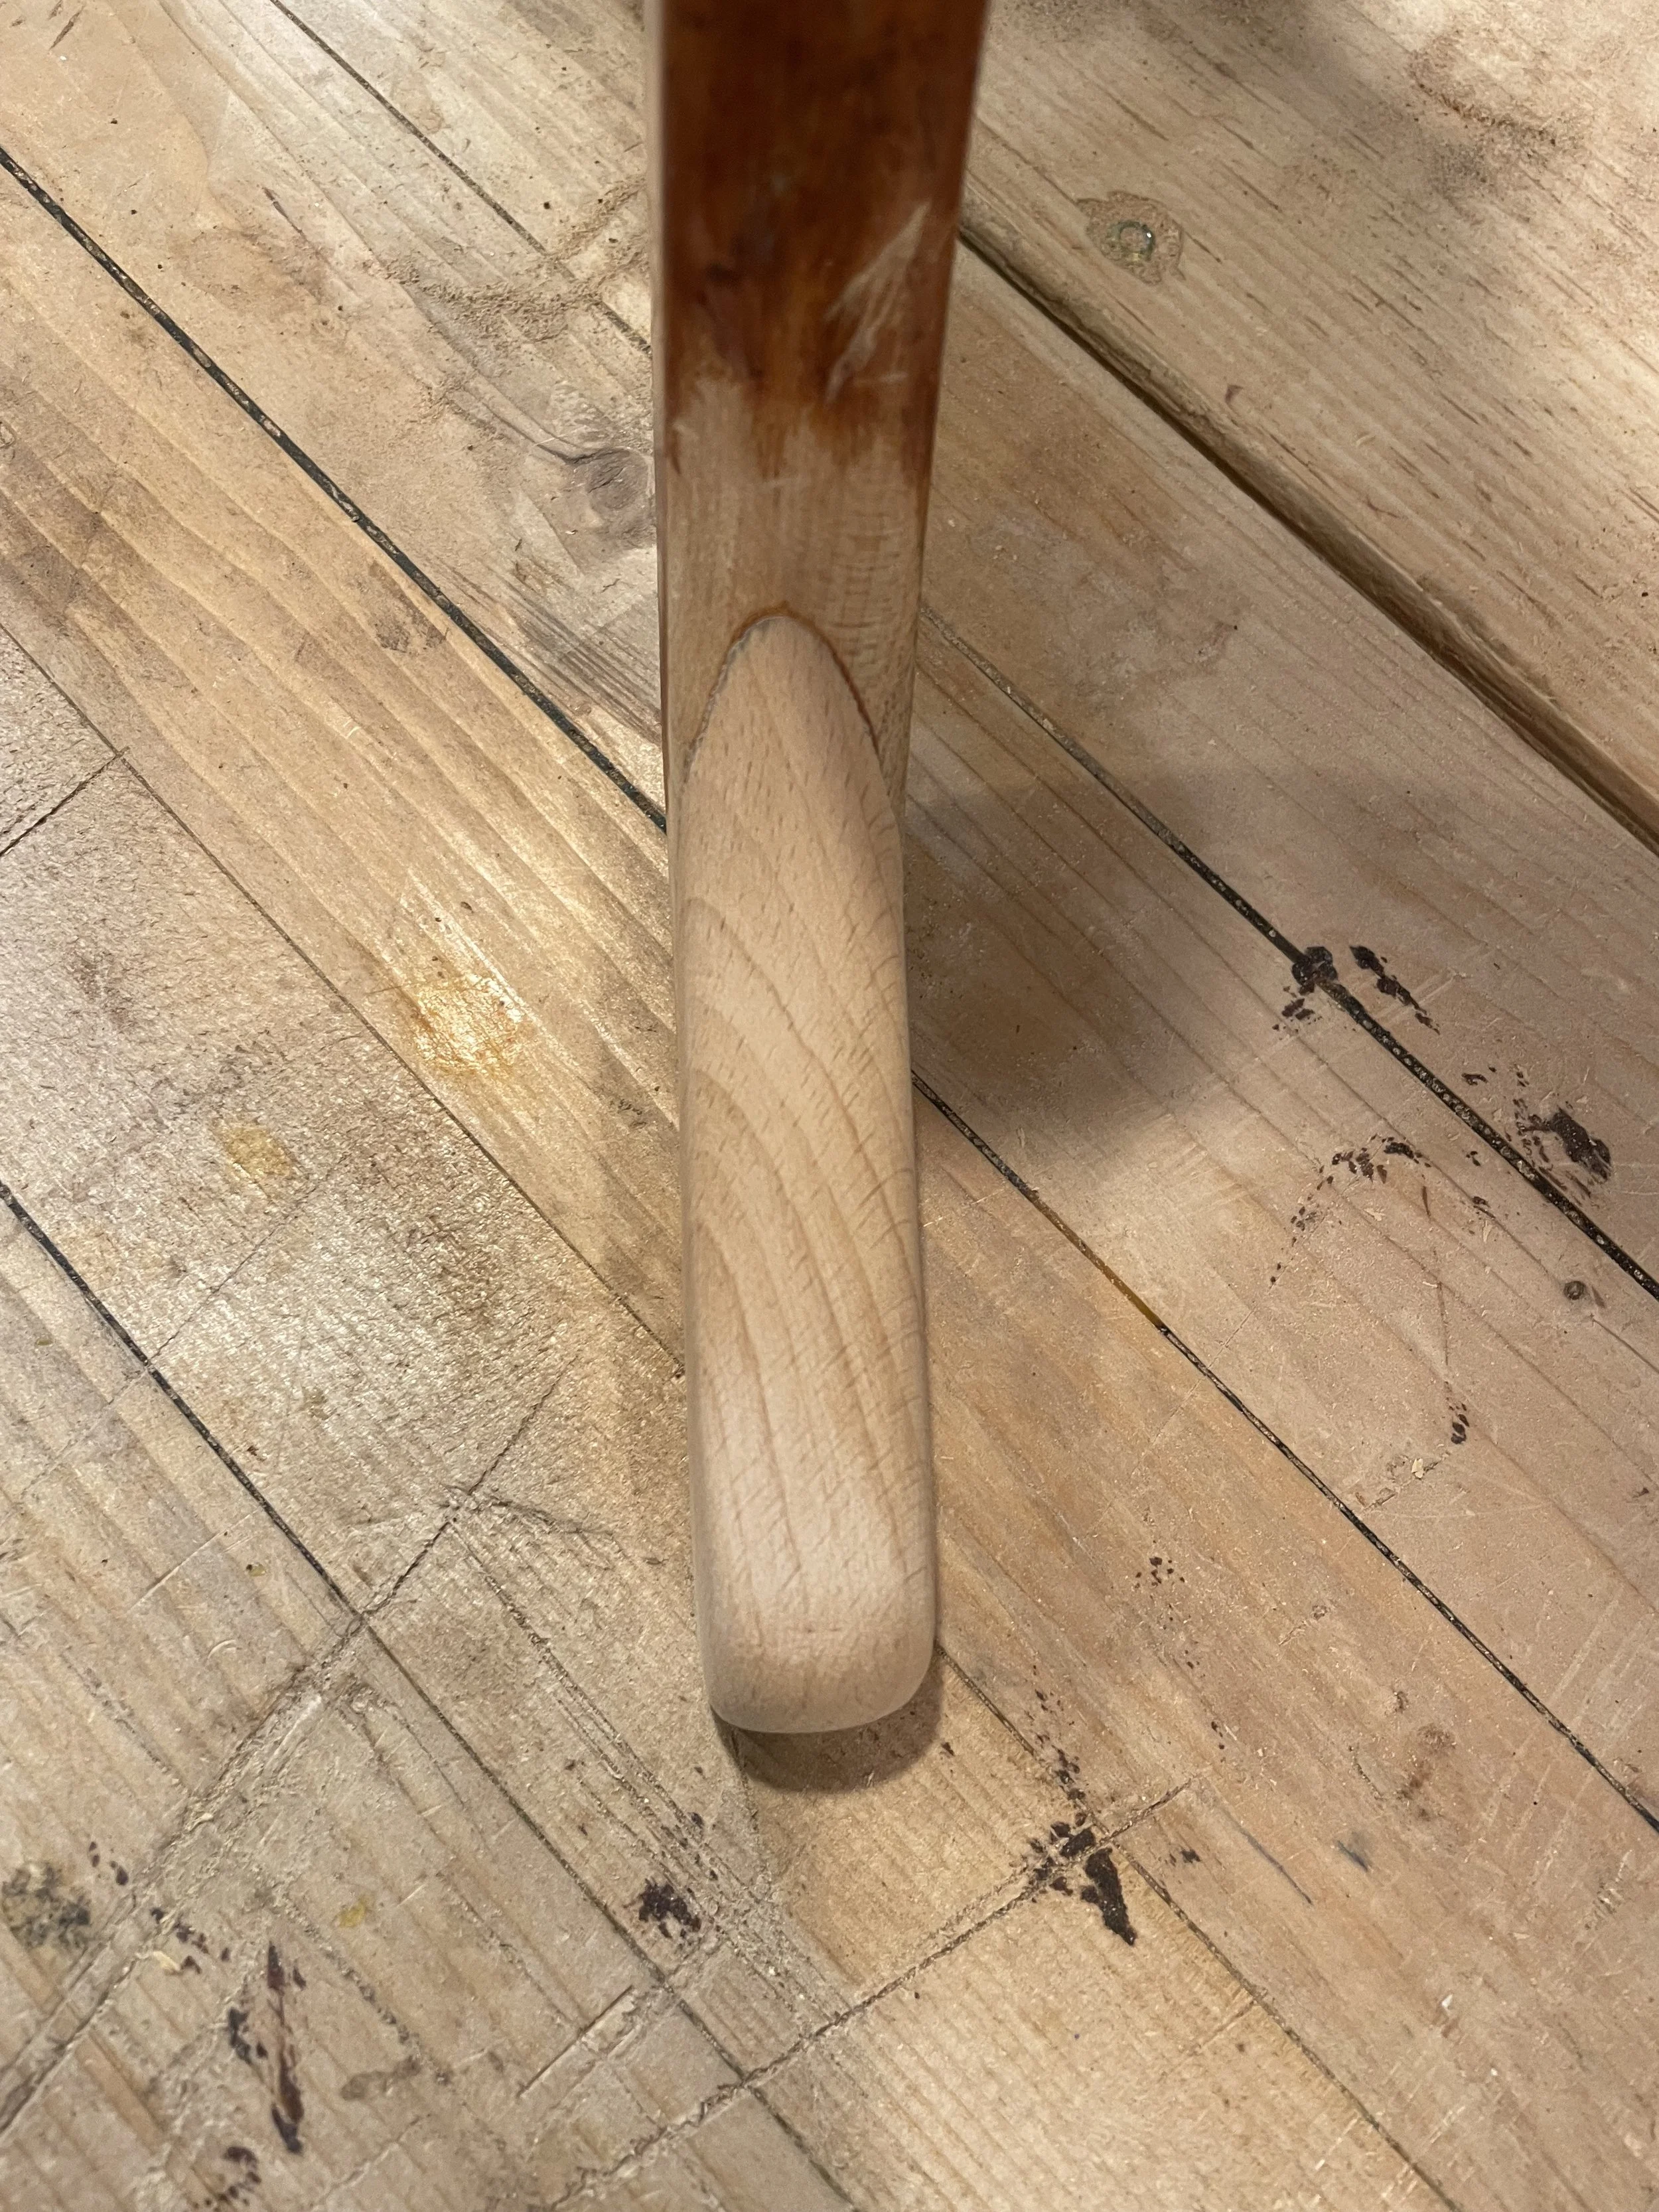
Got the shape.
Time for fine tuning and color matching
After a few coats of shellac and spray toners
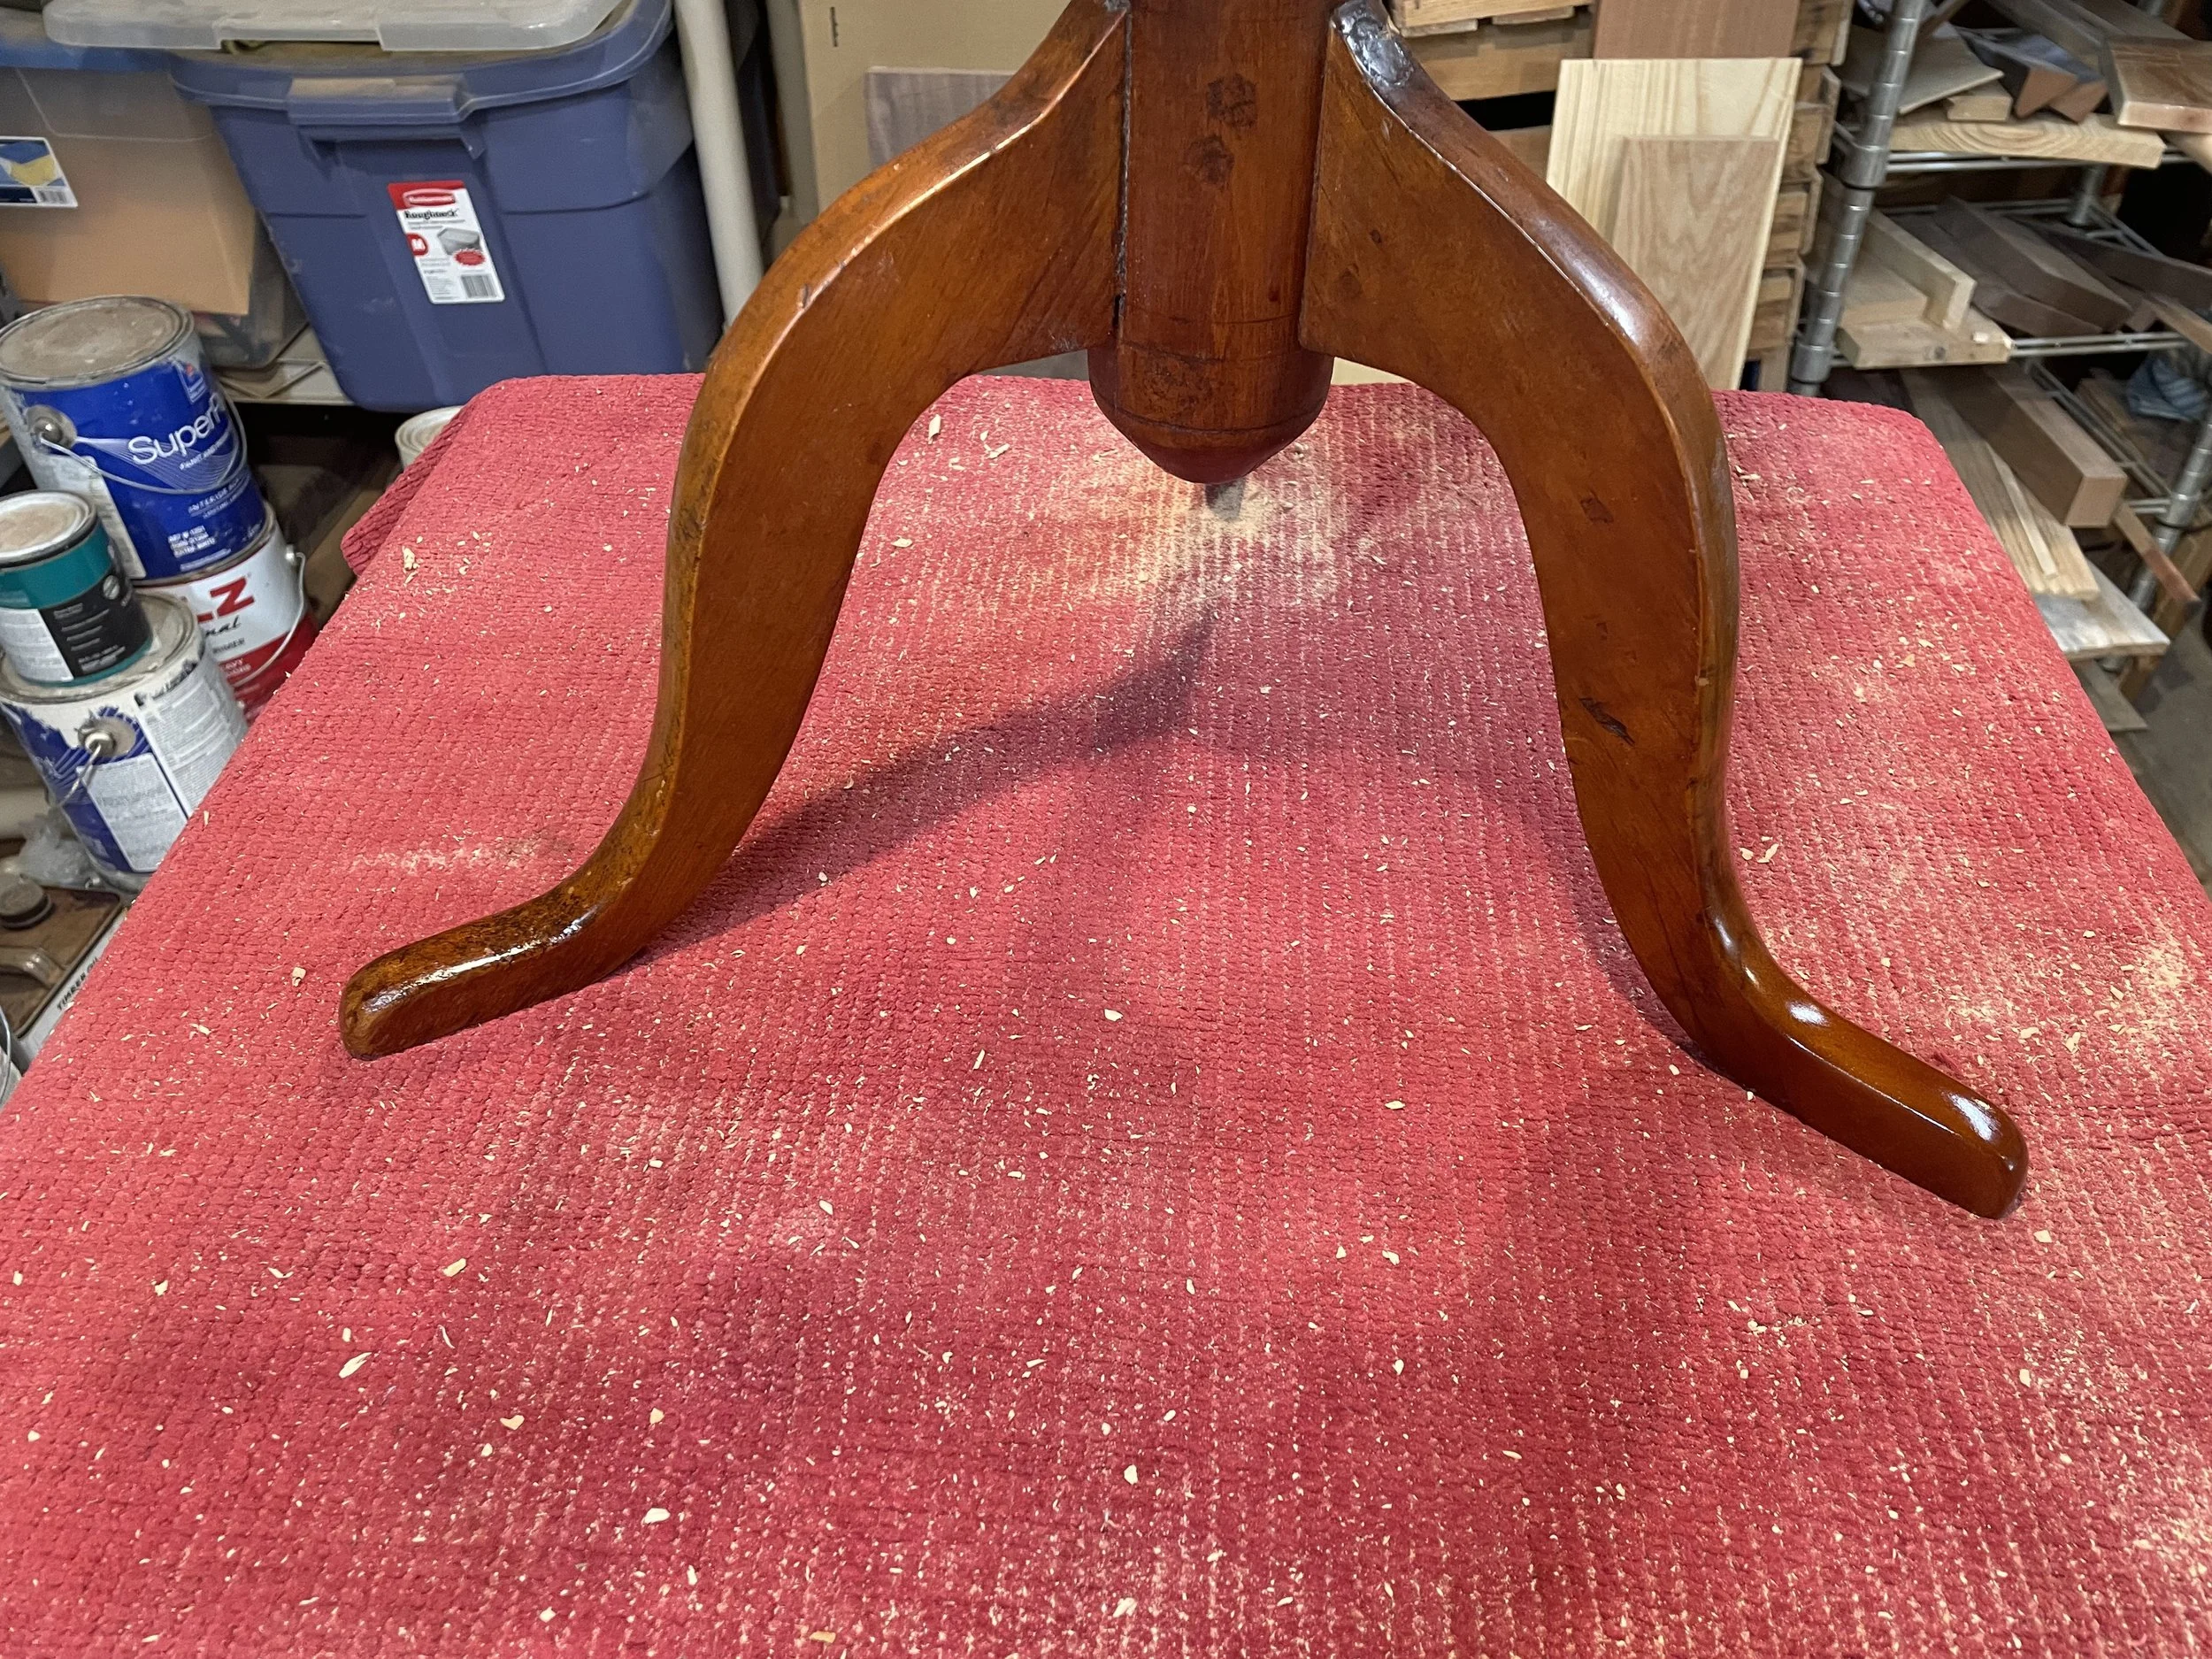
Nailed it
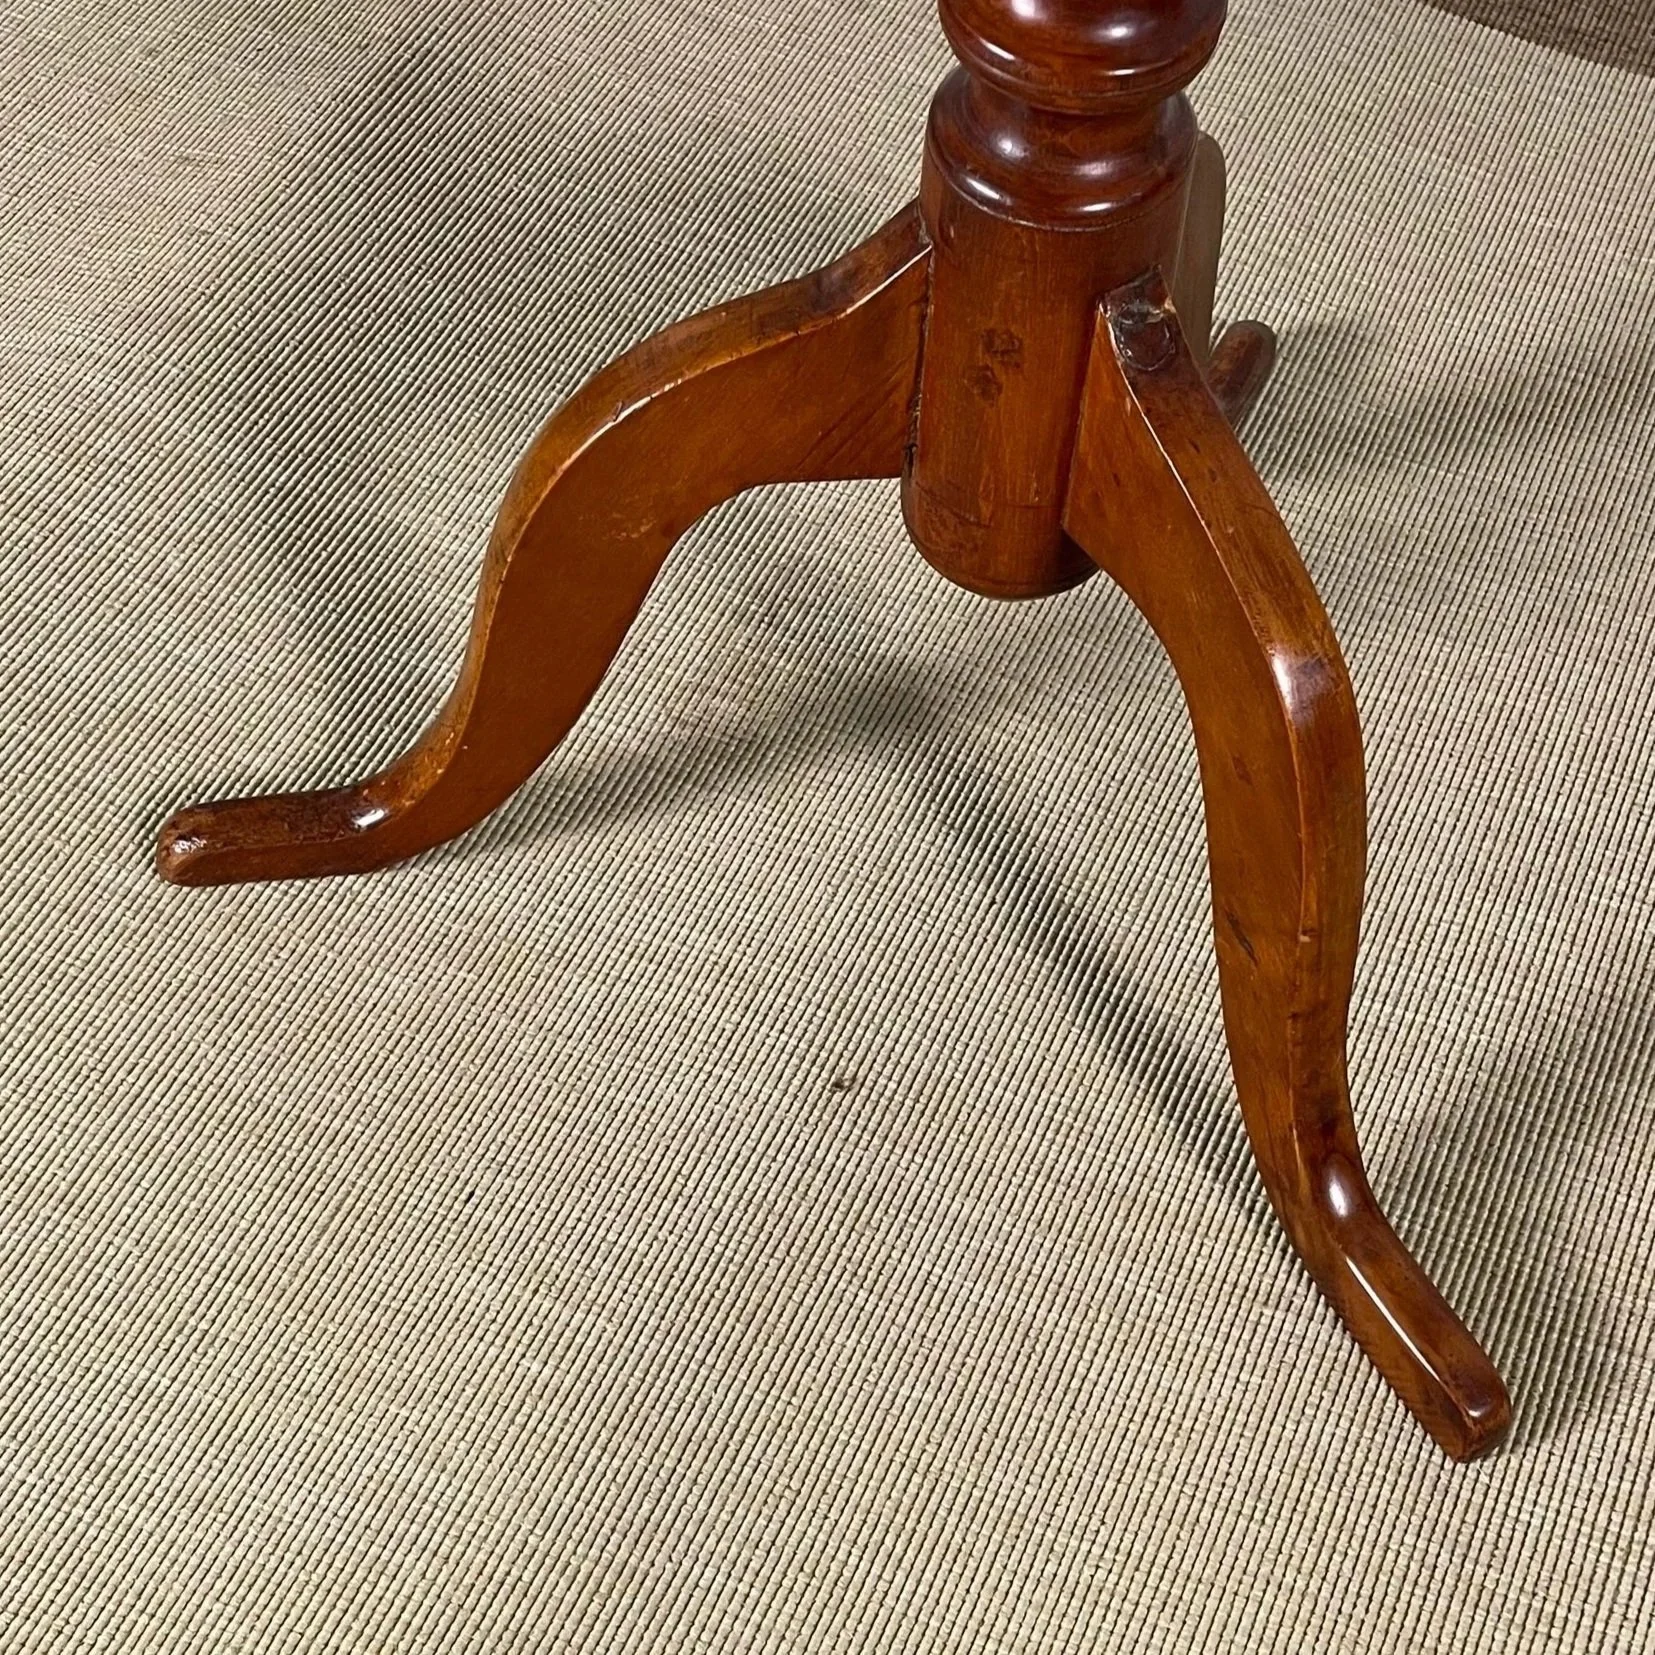
Matched well with the others
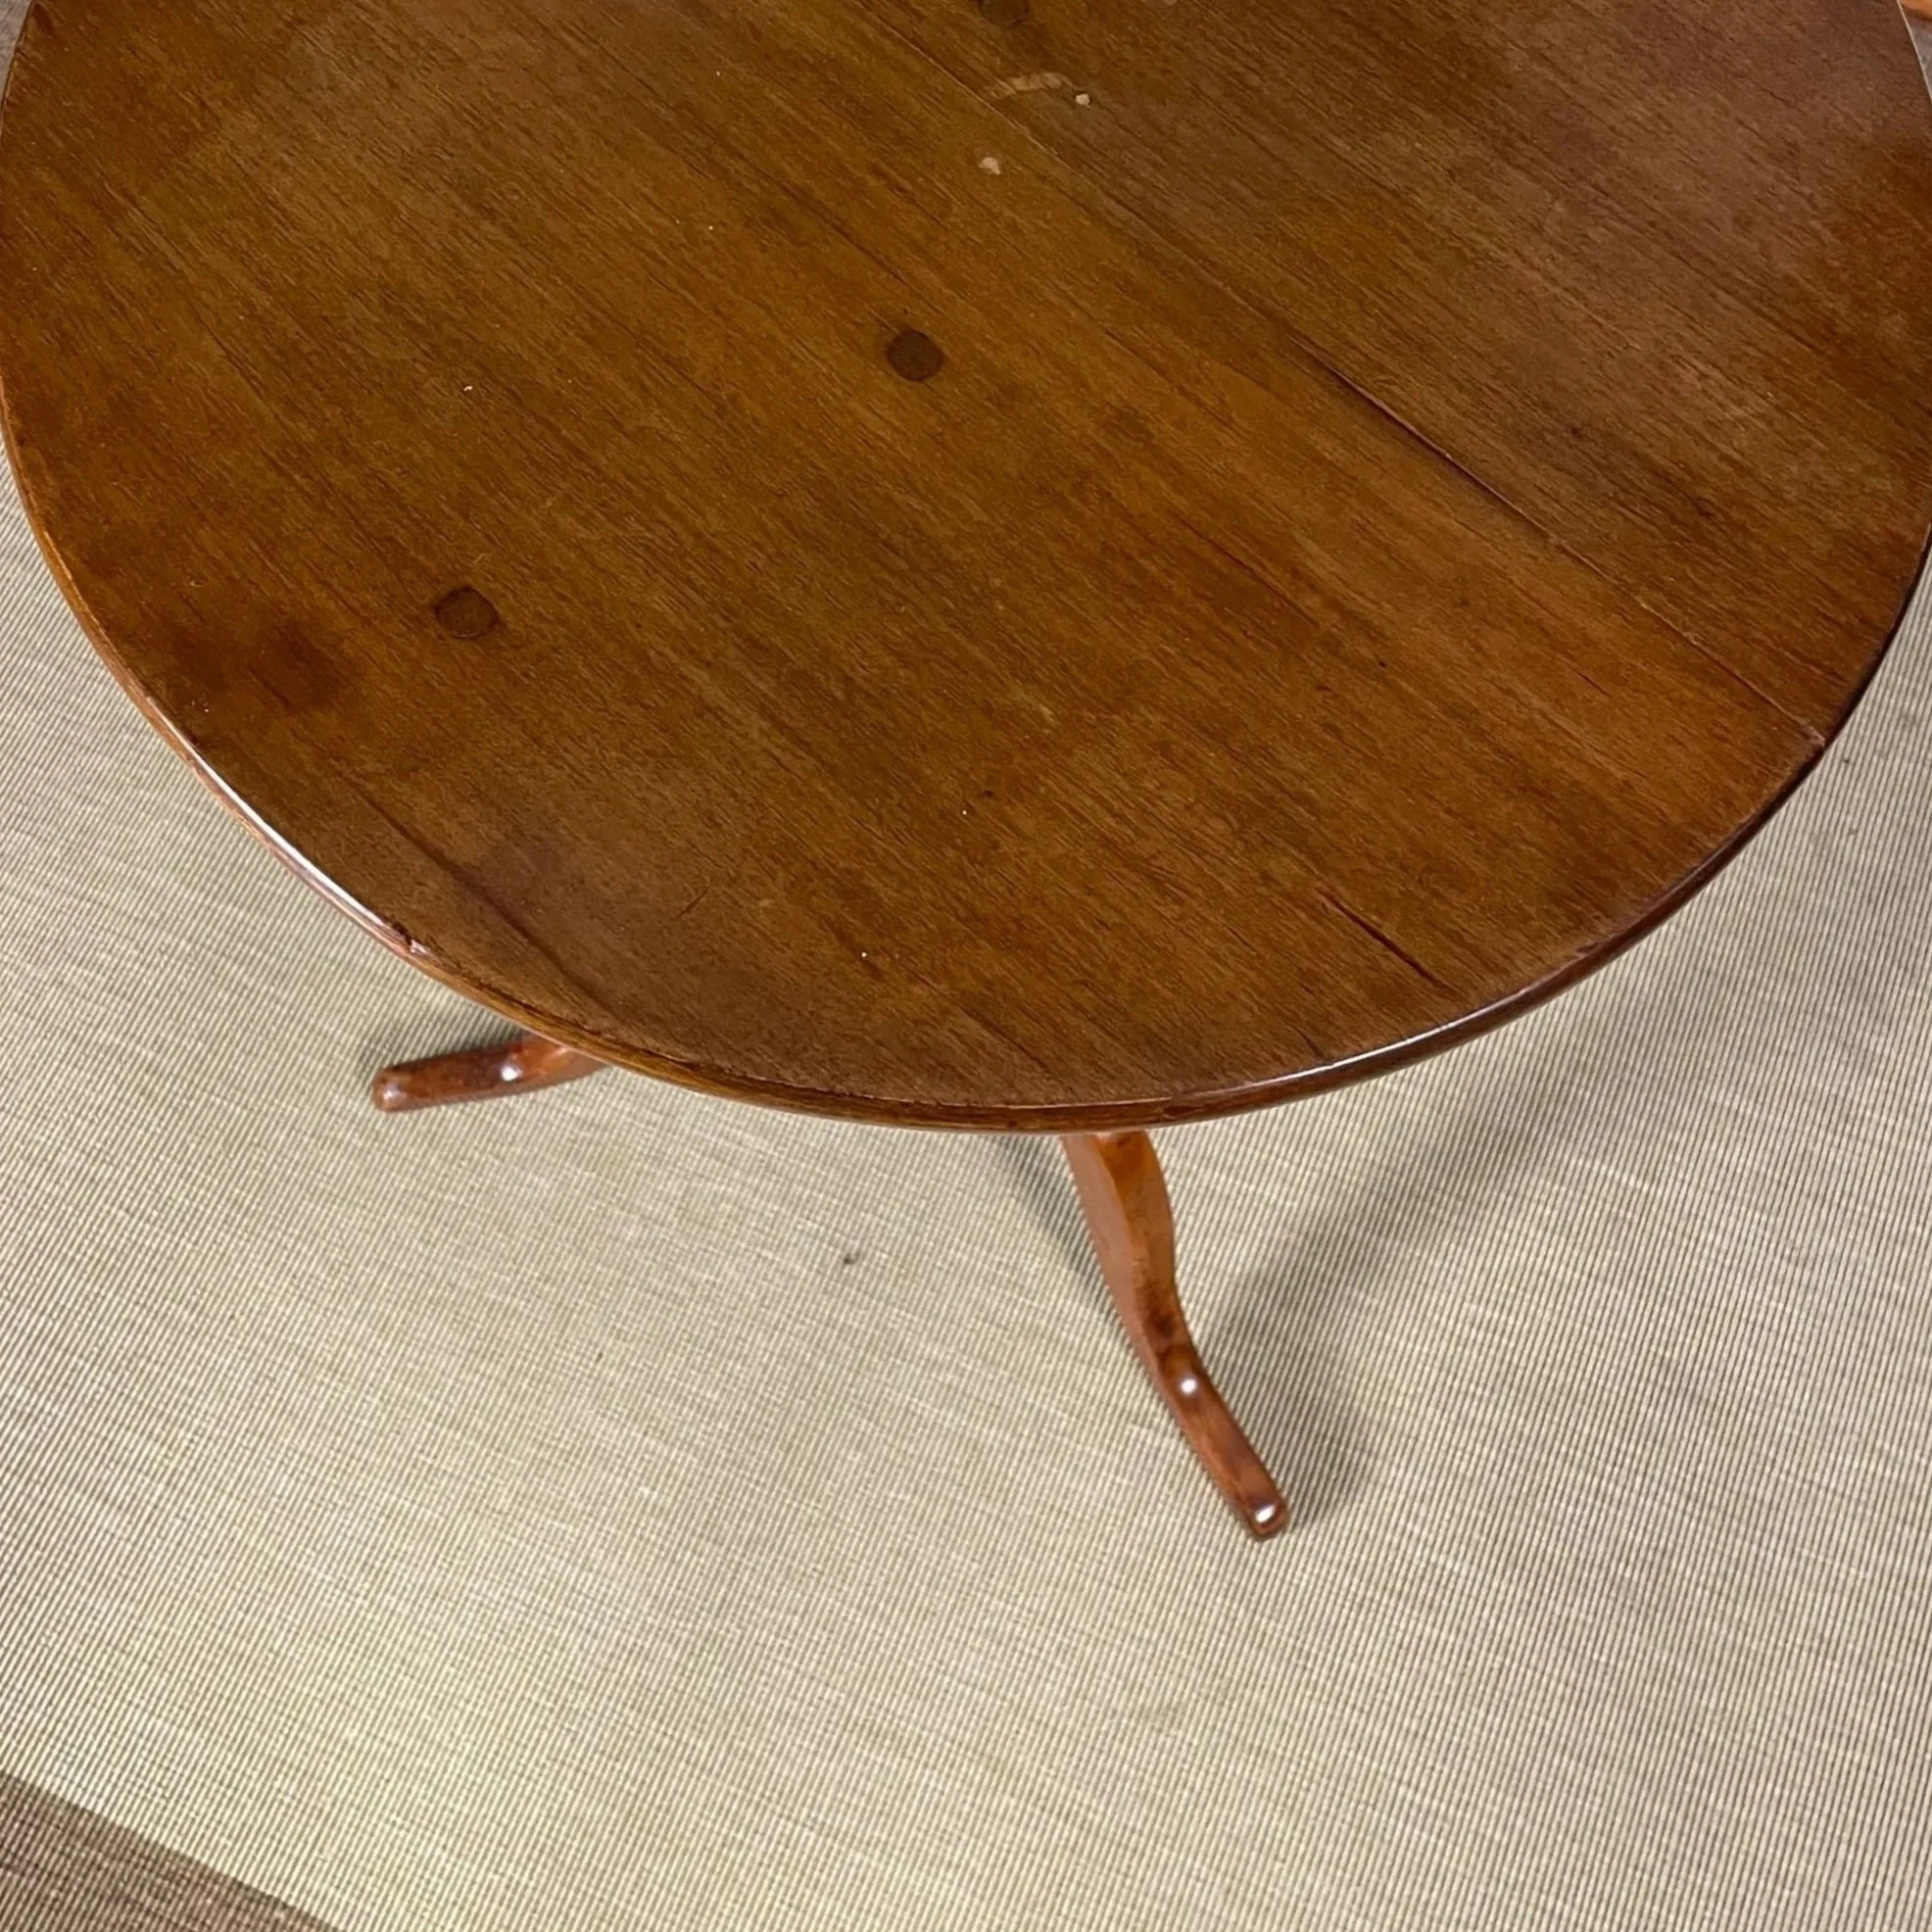
Which one is the replacement?